Learn how to take and use static HTML snapshots of dynamic web applications.
After starting the app we get the option to open a project.
Projects in Pinegrow Snapshots are just folders that contain our HTML snapshots.
To create a new project, create a new folder on your computer and then open it with Open project.
Open your application or website
Click on “Open url” button:
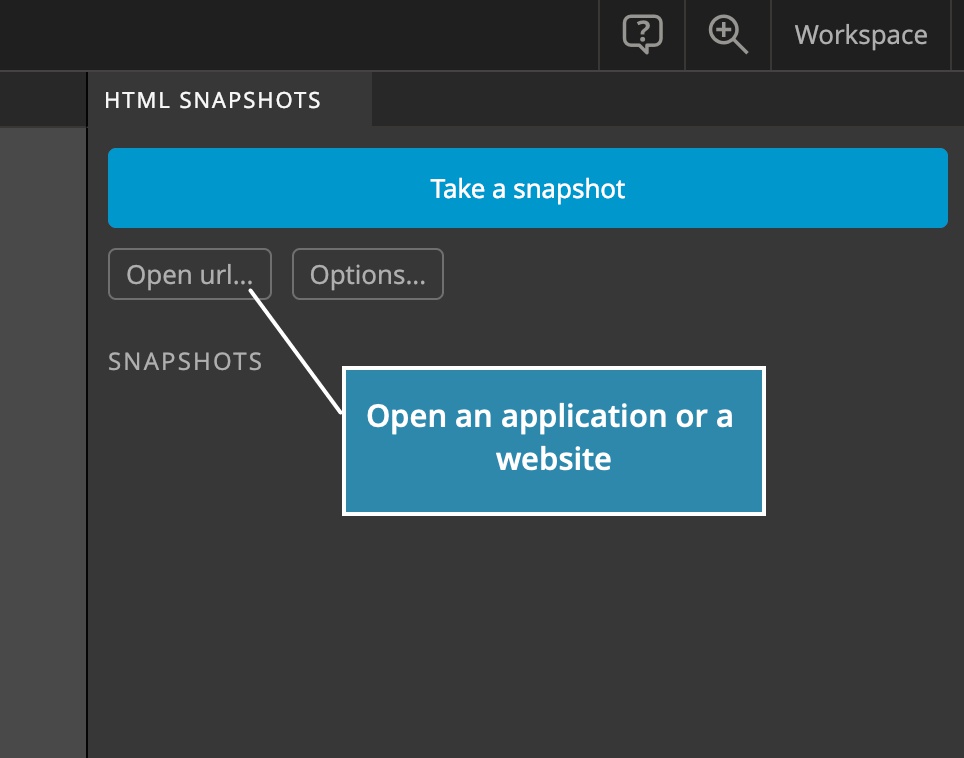
And enter a URL to open an application or a website:

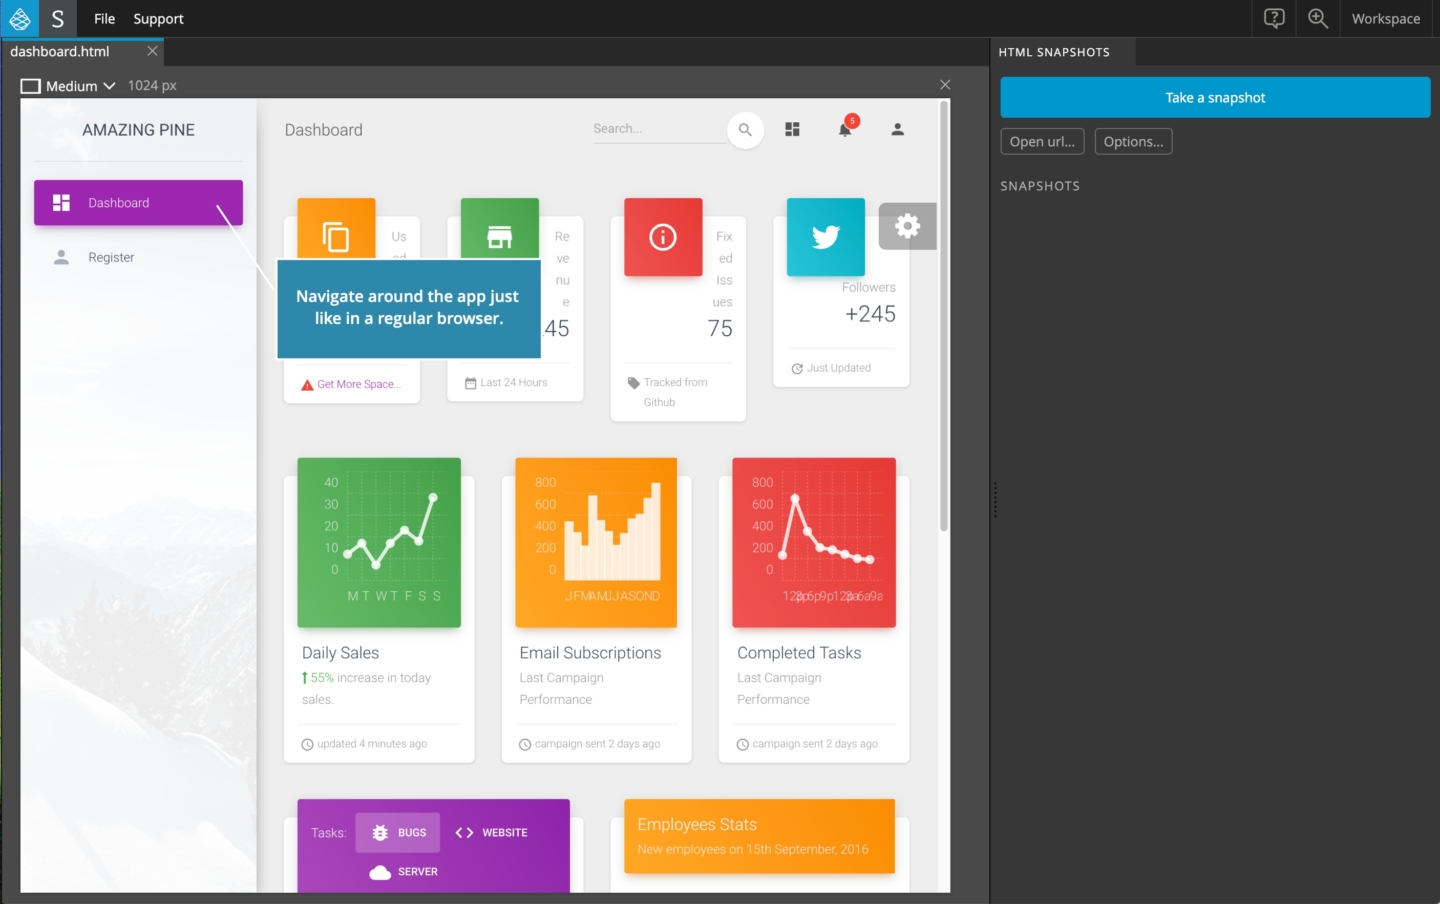
Navigate around the application just like you would in a regular browser:
Create a new snapshot
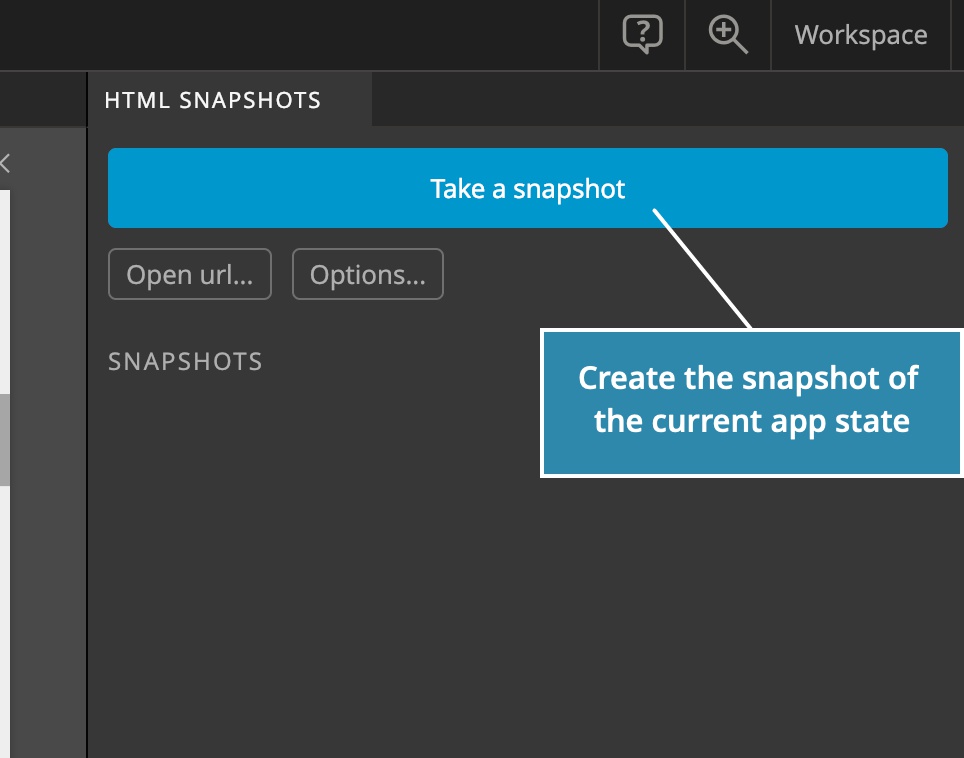
To create a snapshot, click on “Take a snapshot” button and enter the name of the snapshot:
HTML snapshot will be saved in {name}.html and its thumbnail will be saved as thumbnails/{name}.png.
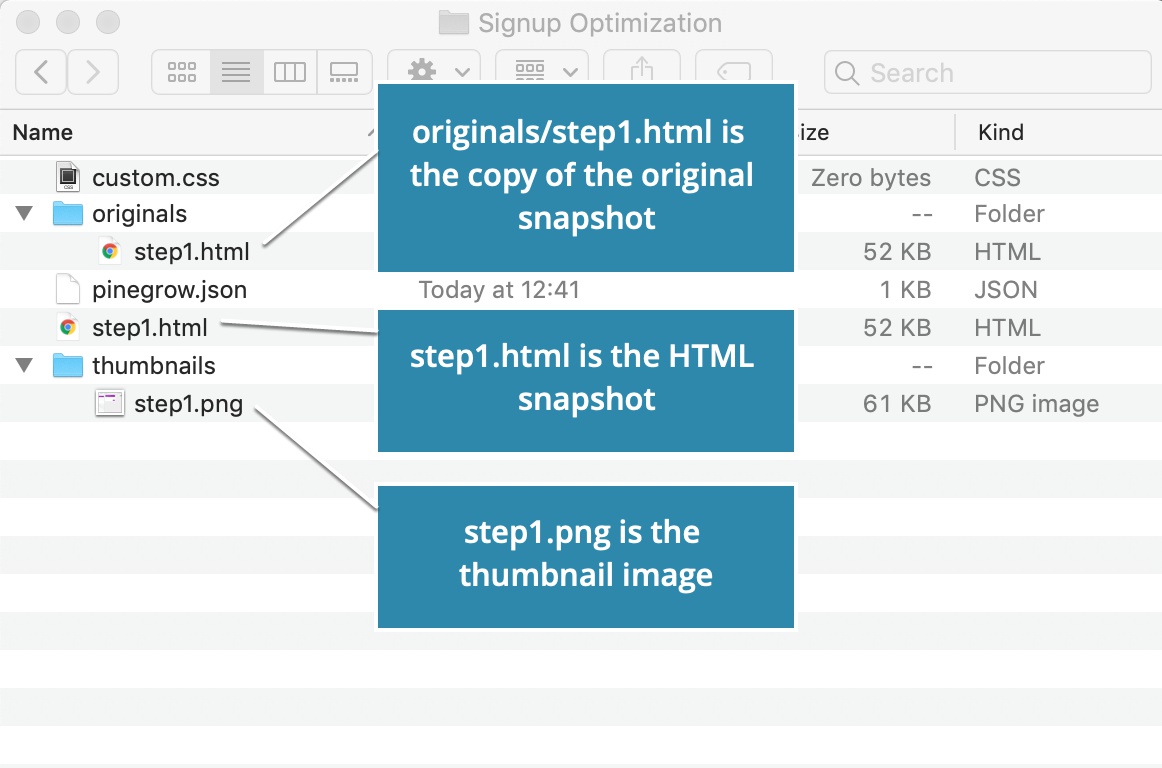
The copy of the original snapshot will be saved as originals/{name}.html. You can later compare the two files to get the list of any changes you make to the snapshot.
Using snapshots
Click on the snapshot in the right panel to display its menu:
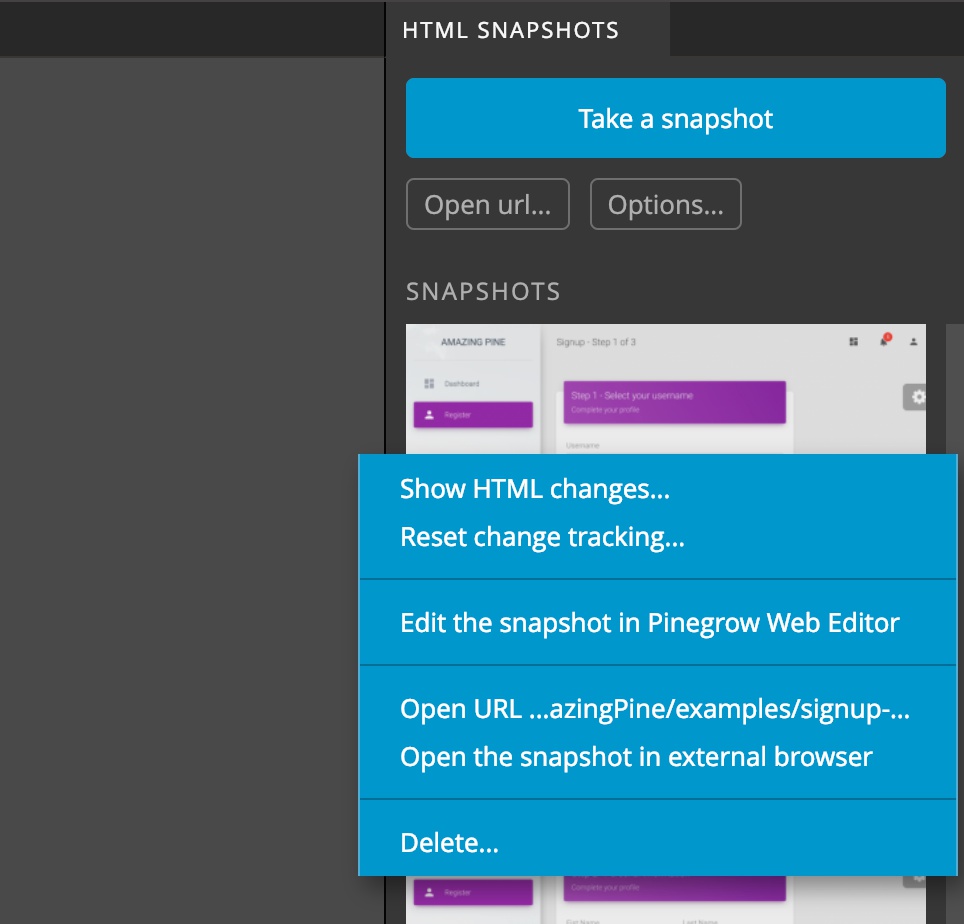
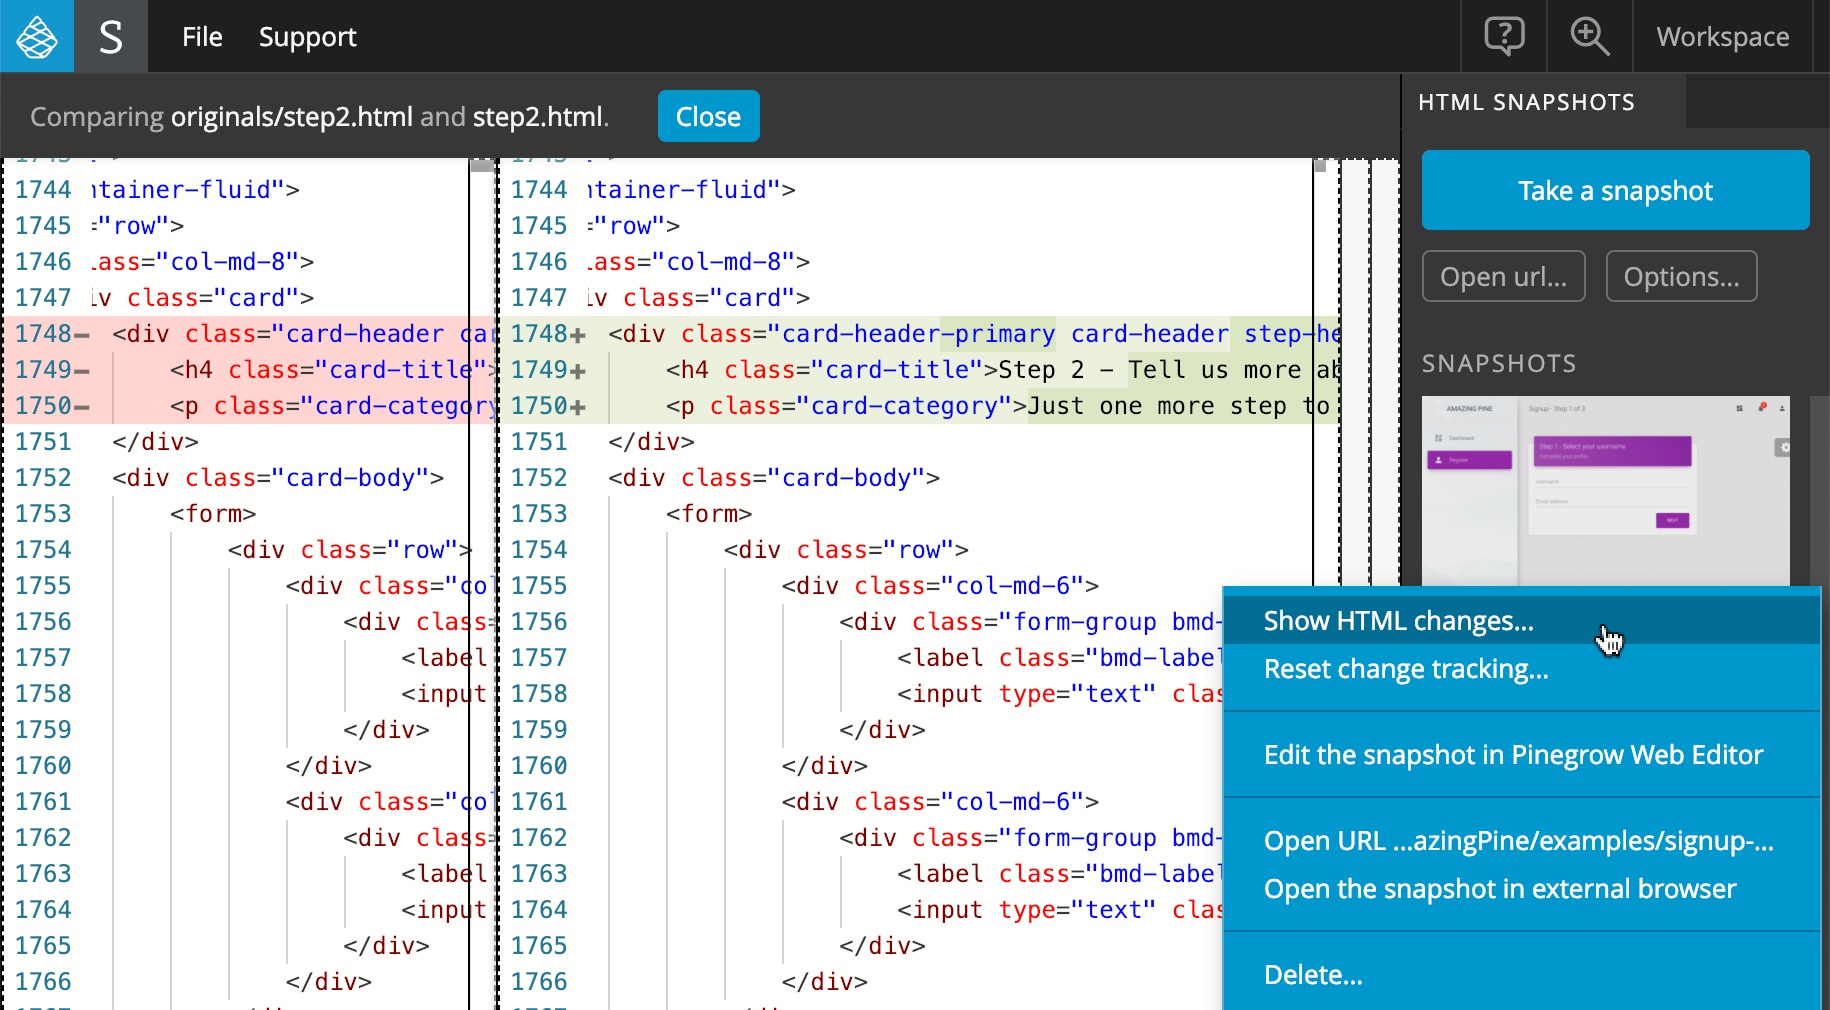
Show HTML changes displays all changes done to the HTML code of the snapshot.
Reset change tracking takes the current version of the snapshot and uses it as the baseline for tracking further changes.
Update the snapshot will replace the snapshot with the new snapshot of the current application.
Edit the snapshot in Pinegrow Web Editor displays the instructions on how to open the snapshot in Pinegrow Web Editor. Eventually, it will just open the snapshot in Pinegrow.
Open {url} opens the URL that was used to take the snapshot.
Open the snapshot in external browser opens the HTML file in the default browser.
Delete removes the snapshot and it’s .html and .png files.
Let’s select the “Open snapshot” option. This will open the HTML file in the browser.
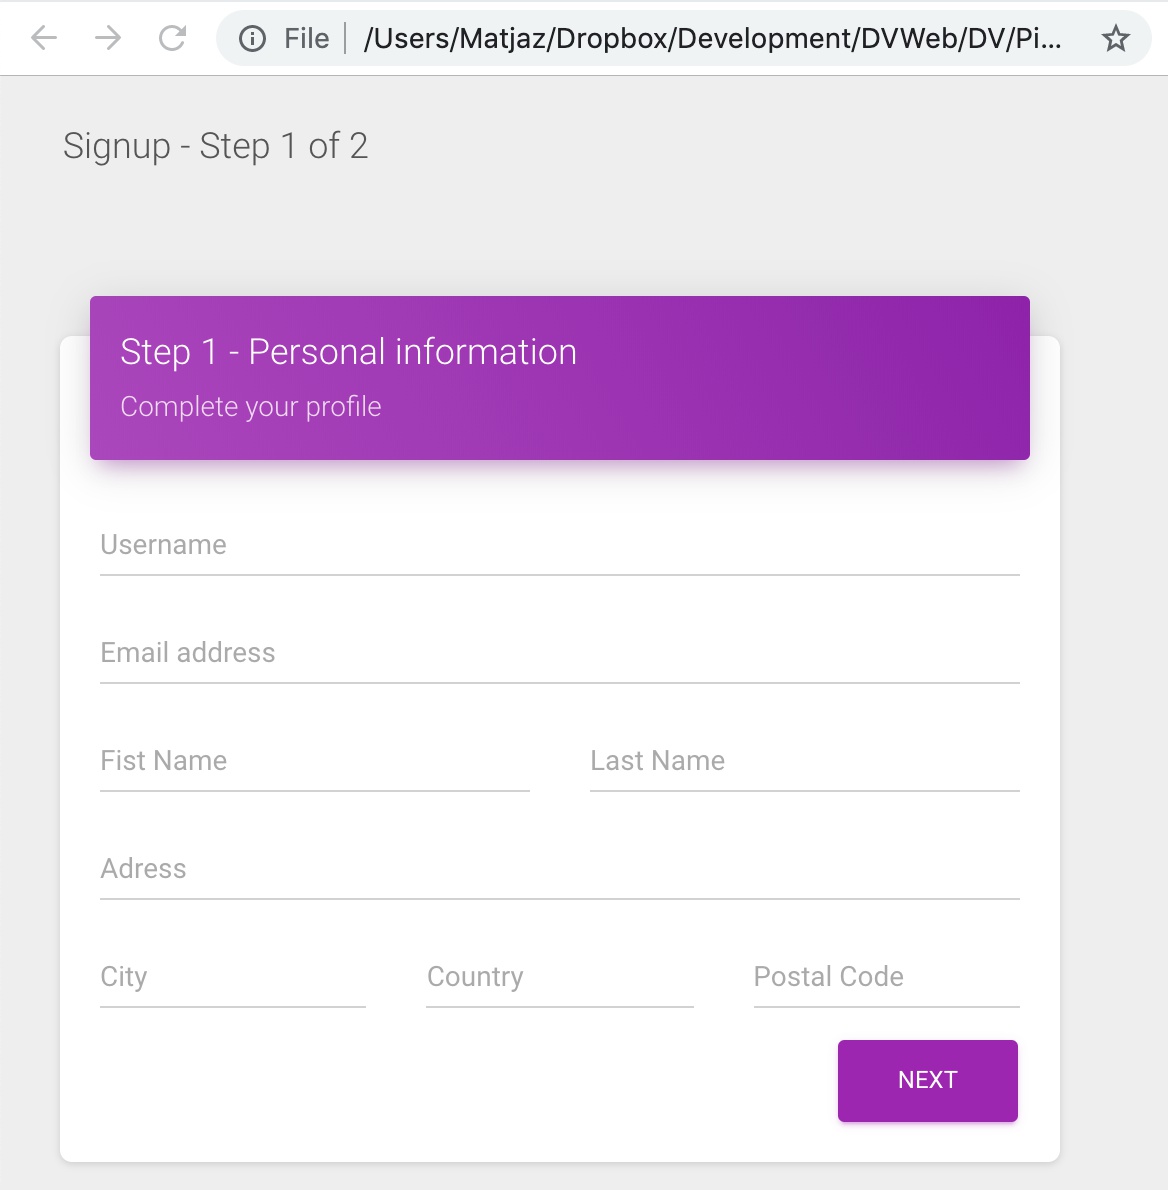
It looks just like the app. But it’s just a HTML, with no dynamic features. By default, Javascript code is not included in snapshots, so any features that rely on it don’t work. Including Javascript code can be toggled in Options, more about that below.
Back in Pinegrow Snapshots, we can navigate to other screens or states in the application and take their snapshots.
For example, we can open a popup control and take the snapshot.
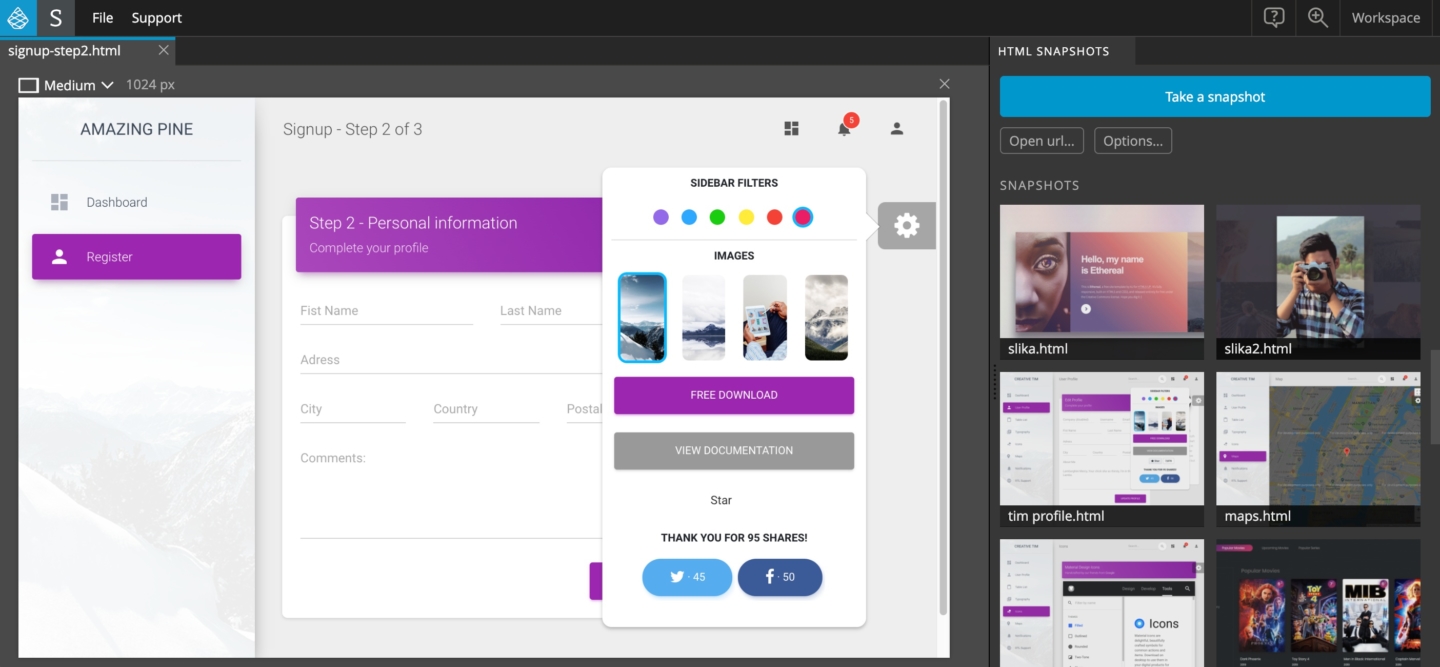
In the browser, the snapshot looks the same, but it is just HTML. So now if we would want to work on styling the popup menu we can easily do it without having to reload the page and re-navigate to the popup menu screen.
Customizing snapshots
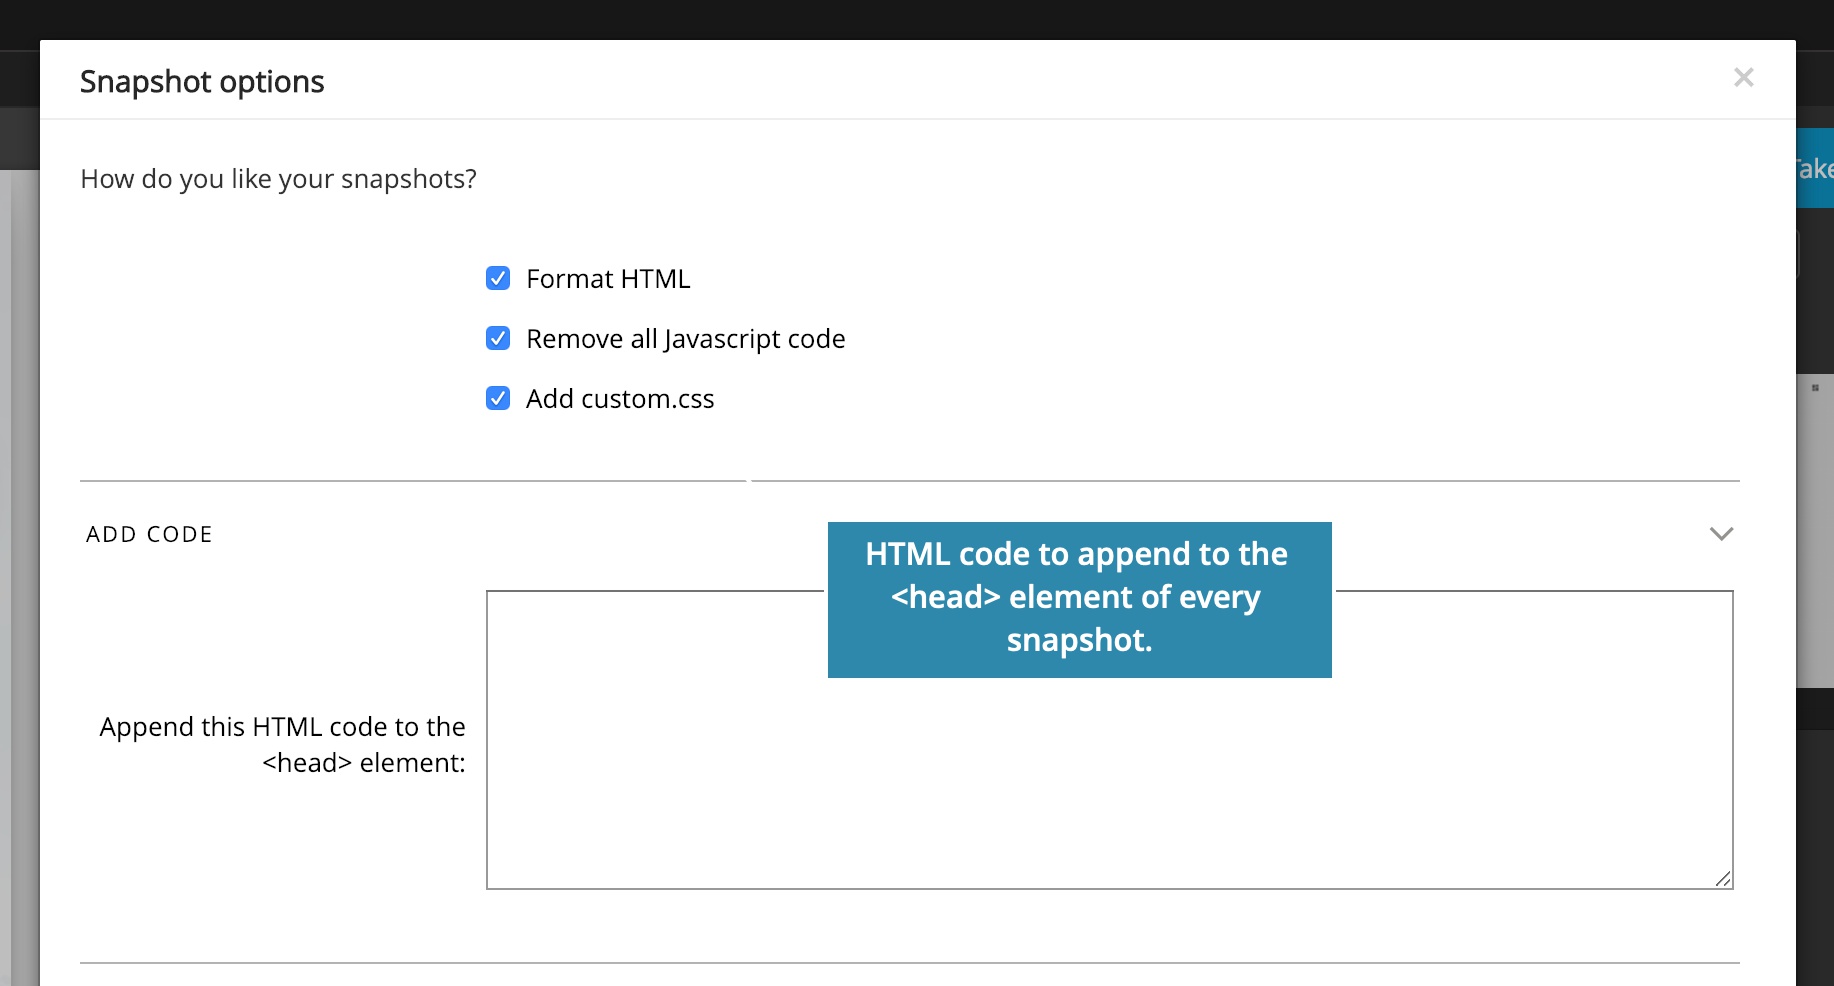
By default, all Javascript code is removed from snapshots and the HTML code is reformatted.
In addition, stylesheet “custom.css”, located in the project folder, is added to the snapshots. This stylesheet is useful for overriding CSS rules.
These settings can be toggled in Options dialog.

Changed settings don’t affect existing snapshots, only new and updated ones.
Advanced settings
Append code to the <head> element lets us append one or more HTML statements to the head element. This is useful for adding additional stylesheets and scripts to snapshots.
URL mapping lets us change URLs in the snapshot. For example, we can replace the production stylesheet with the local development stylesheet so that we can make all CSS edits directly in our application’s source files.
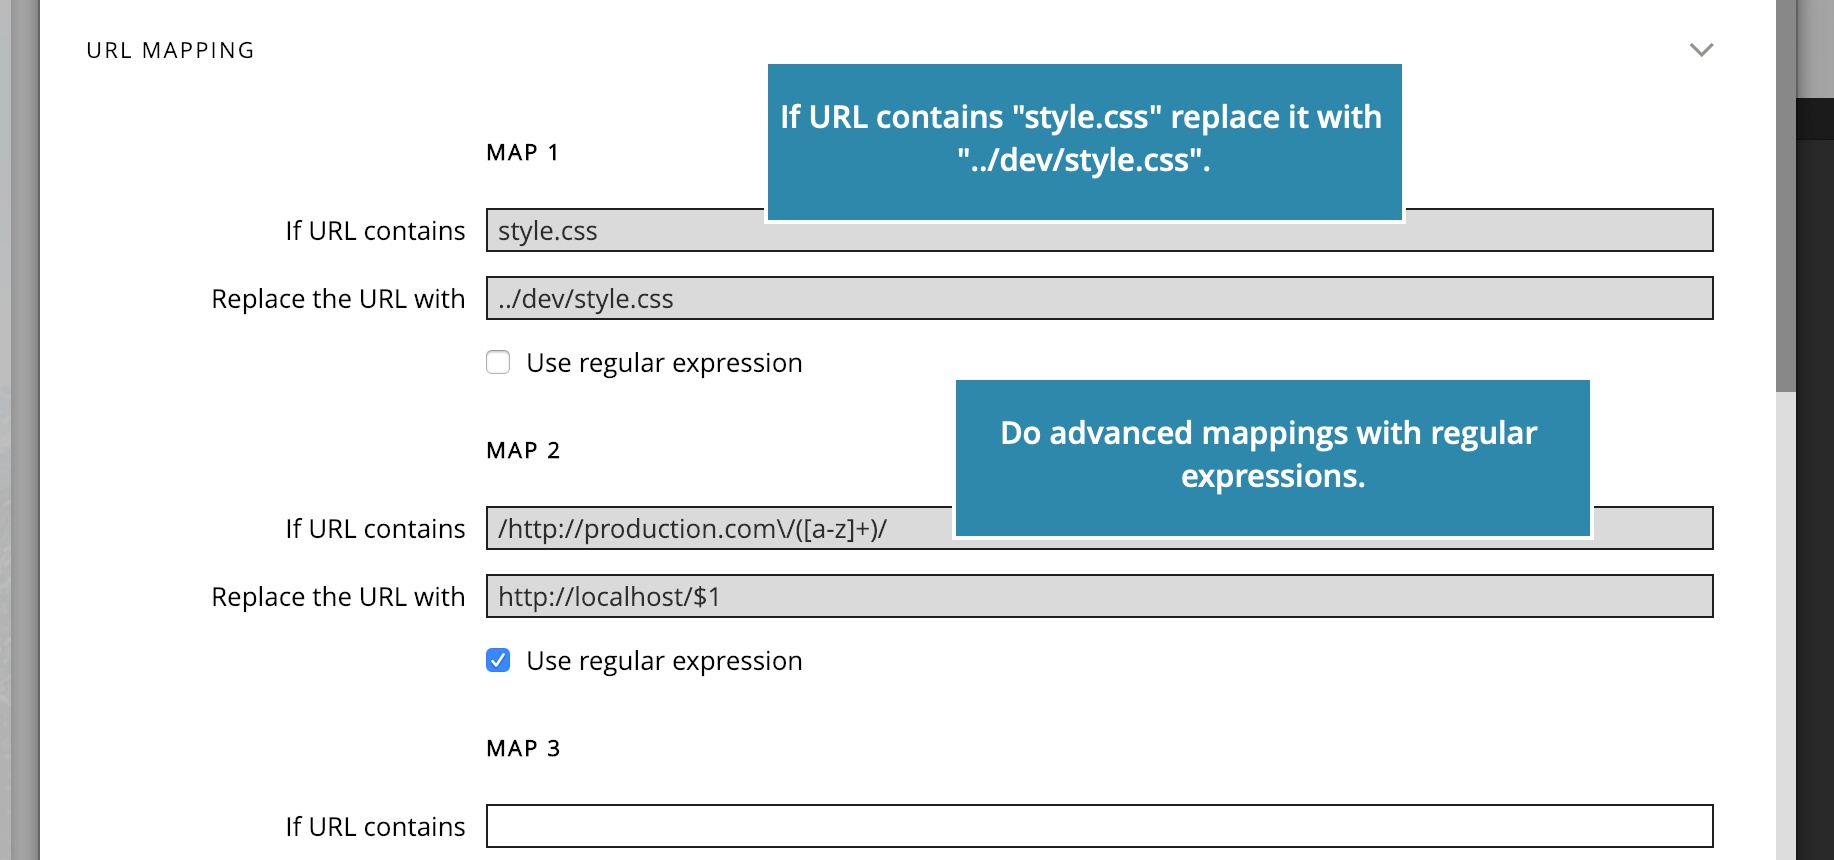
There are two ways of doing the mapping:
- Using simple search where the whole URL is replaced if it contains the search string.
- For more flexibility, we can use regular expressions