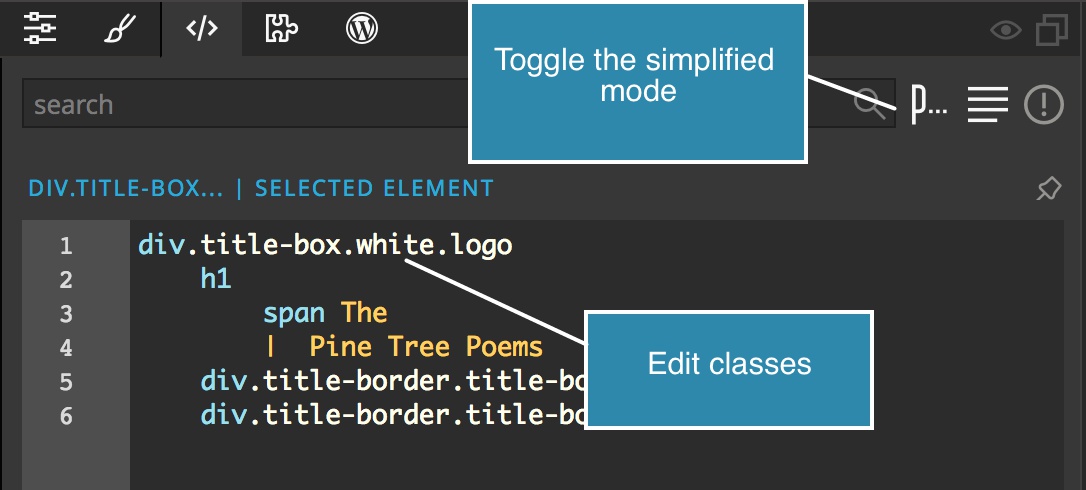
Let’s take a look at how you can add and remove classes (for example .my-class) from elements on the page.
In Pinegrow you can use multiple tools to do a single task. This is also true for editing classes. Choose the tool that best suits the task at hand:
Edit classes in Element Properties
Open the Element properties panel.
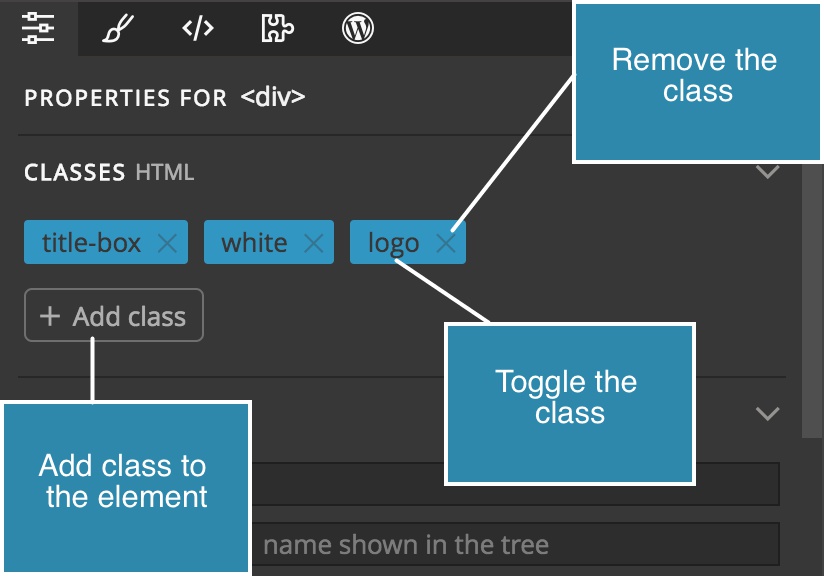
There you’ll find the Classes section with the list of all classes that are assigned to the selected element and the button.
Remove a class
Remove the class by clicking on the x icon 1.
Toggle the class (switch it on and off on the element) by clicking on its name 2.
Add a class
Add a class to the element by clicking on the button 3.
This will open the Add classes tool:
Add classes tool
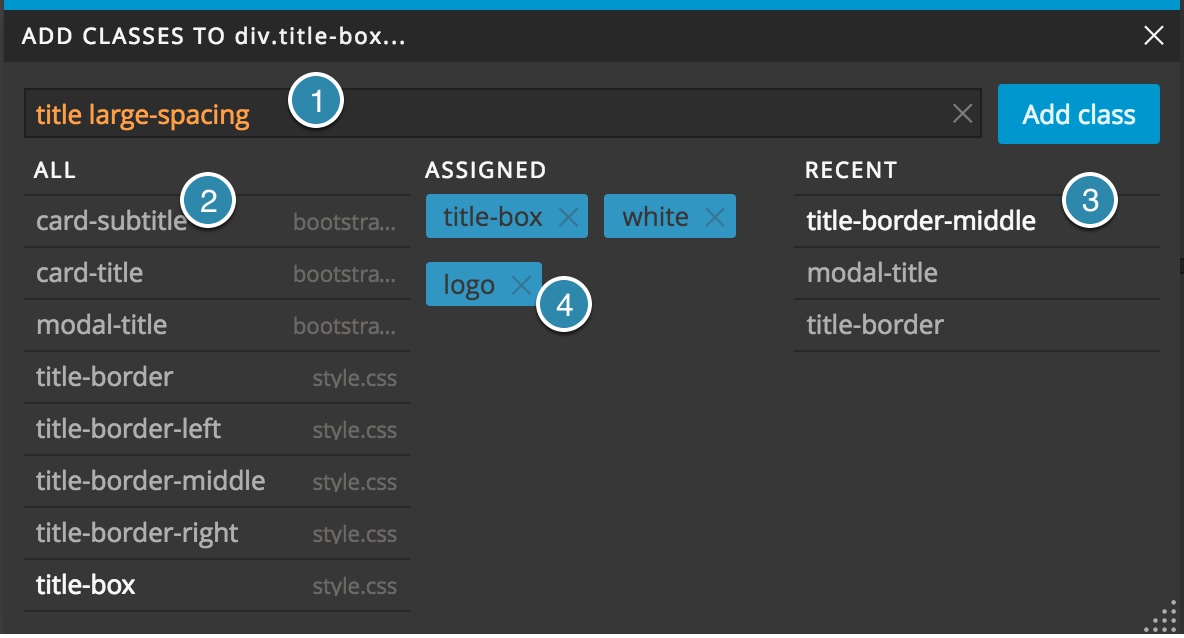
Add classes tool is a floating panel that lets you quickly add and remove classes from the selected elements.
You can use the tool to:
-
Type one or more class names
1 and press
ENTER or click on Add button to assign the classes to selected elements. Use , or space to separate multiple class names. -
Search the list of all known classes
2 in the project by typing in the same input box. Click on the class in the list to assign it to elements. Or use
UP and
DOWN keys to navigate the list and
ENTER to confirm the selection. - Click on the class name in the
Recent list
3. -
Toggle and remove assigned classes
4.
Shortcut Use CMD + L to open the Add classes tool.
Shortcut right click on the element and select Add classes from the menu.
Work with classes in Style panel
Style panel is used for styling page elements with CSS rules. But classes can be added and removed from there as well:
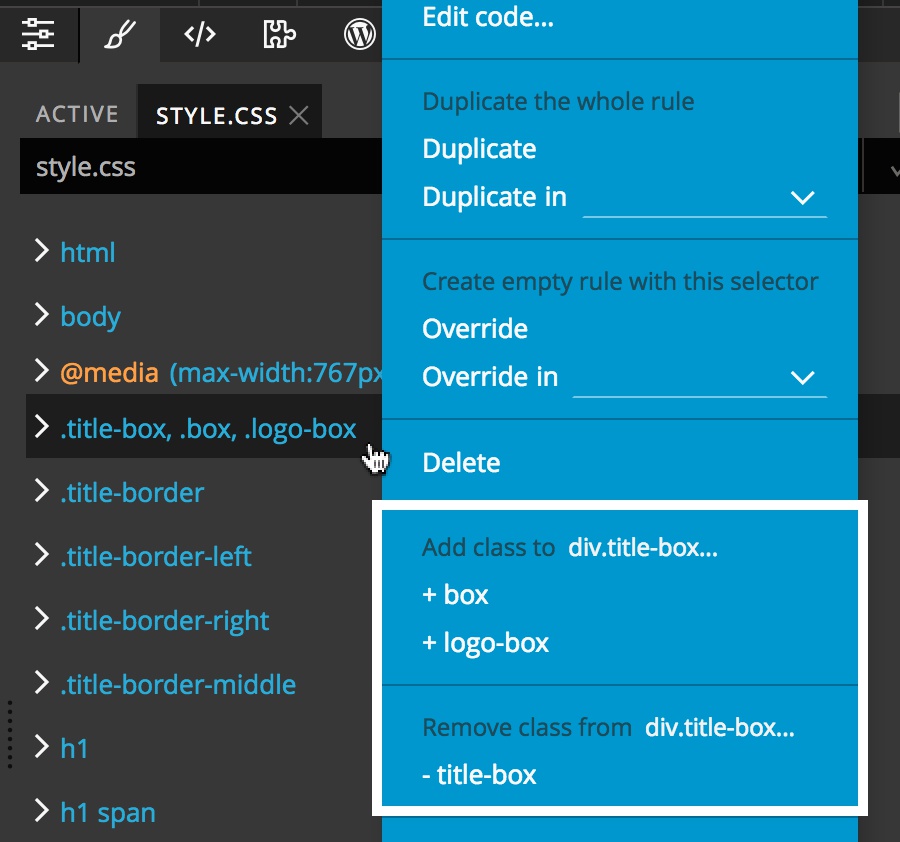
Using the rules context menu
Open the Style panel.
Right click on any rule that contains .class selector(s). The context menu contains commands for adding and removing such classes from the selected elements.
Using Create CSS rule
Open the Style / Active panel.
Both “Quick create rule” 1 and “Create with selector maker” 2 tools have the option to add any classes mentioned in the new rule to the selected elements – if those classes are not assigned to the element already.
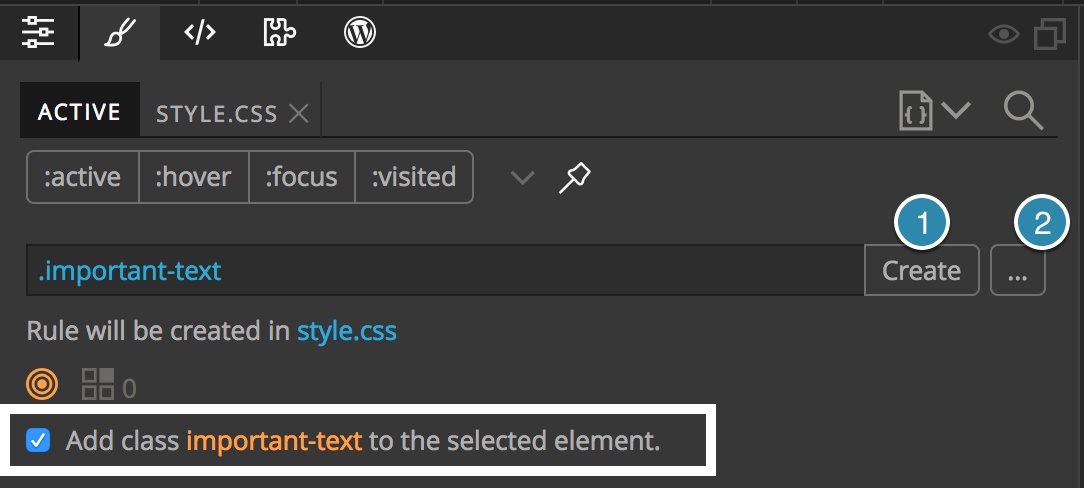
NoteThis feature will not only add the class to the element but will also create a corresponding CSS rule for the class.
Edit class attribute
Open the Element properties panel.
There you’ll find the Attribute editor section:
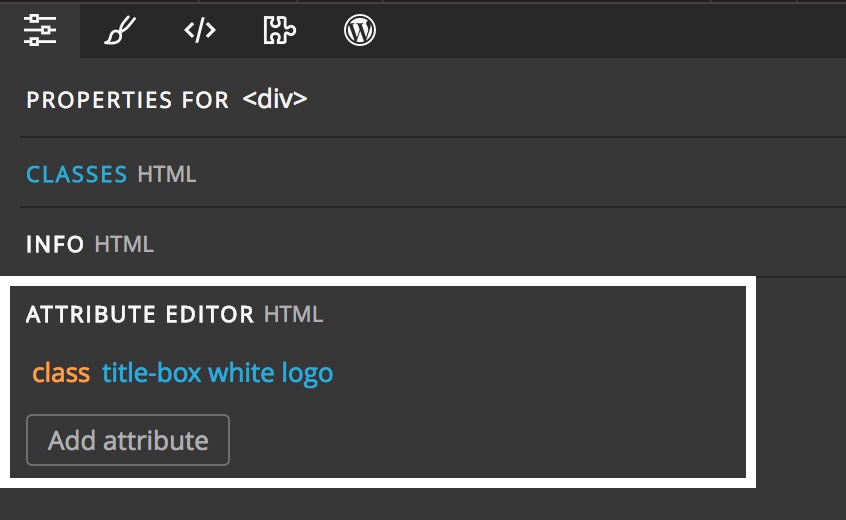
Add or edit the class attribute. Note that according to HTML specification multiple class names must be separated by a space character, not by a comma.
Edit element code
Open the Element code panel.
The element code panel shows the code of the selected element.
Edit the class attributes of the element in the HTML code:
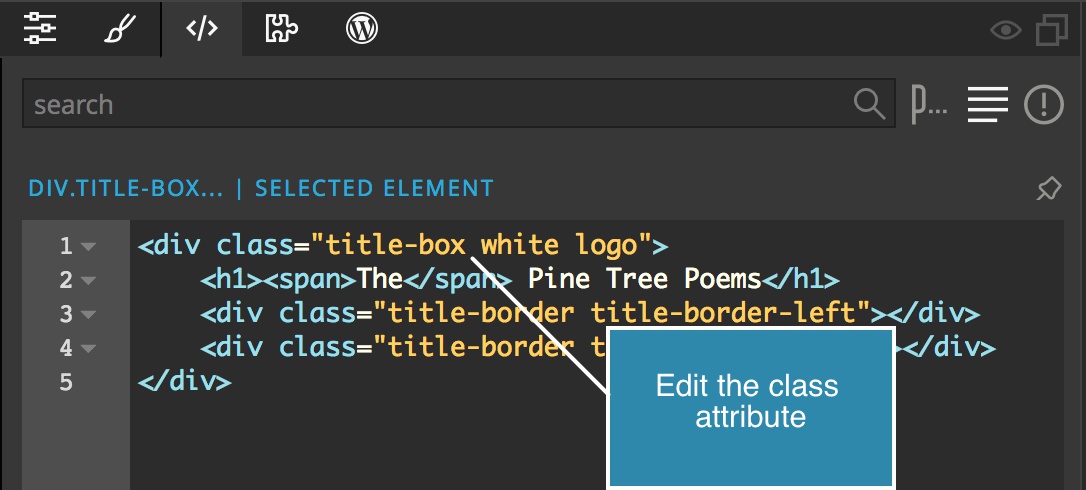
Or switch to simplified Pug syntax 1 and edit classes prefixed by ‘.’ after the element tag name:
