The Tree panel displays the structure of the page. Use it to navigate and edit the page elements with precision.
Open the Tree panel.
Selecting elements
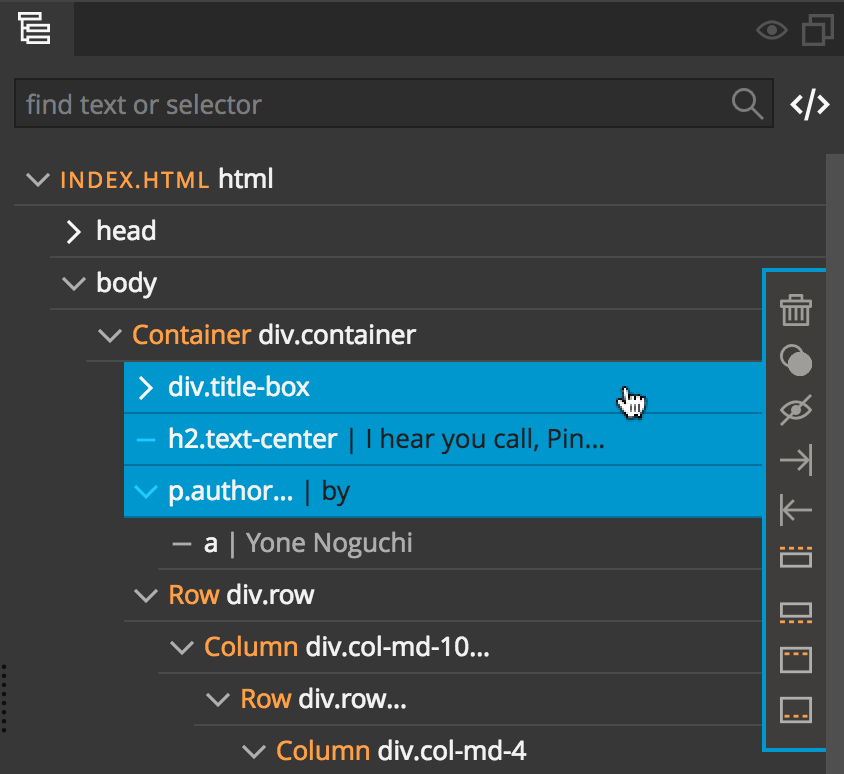
To select elements in the tree:
- Click on the element line to select only that element.
- CMD + click to select multiple elements.
- SHIFT + click to select a range of elements that are on the same level in the tree.
The context menu
Right-click on the element in the tree to open the element context menu:
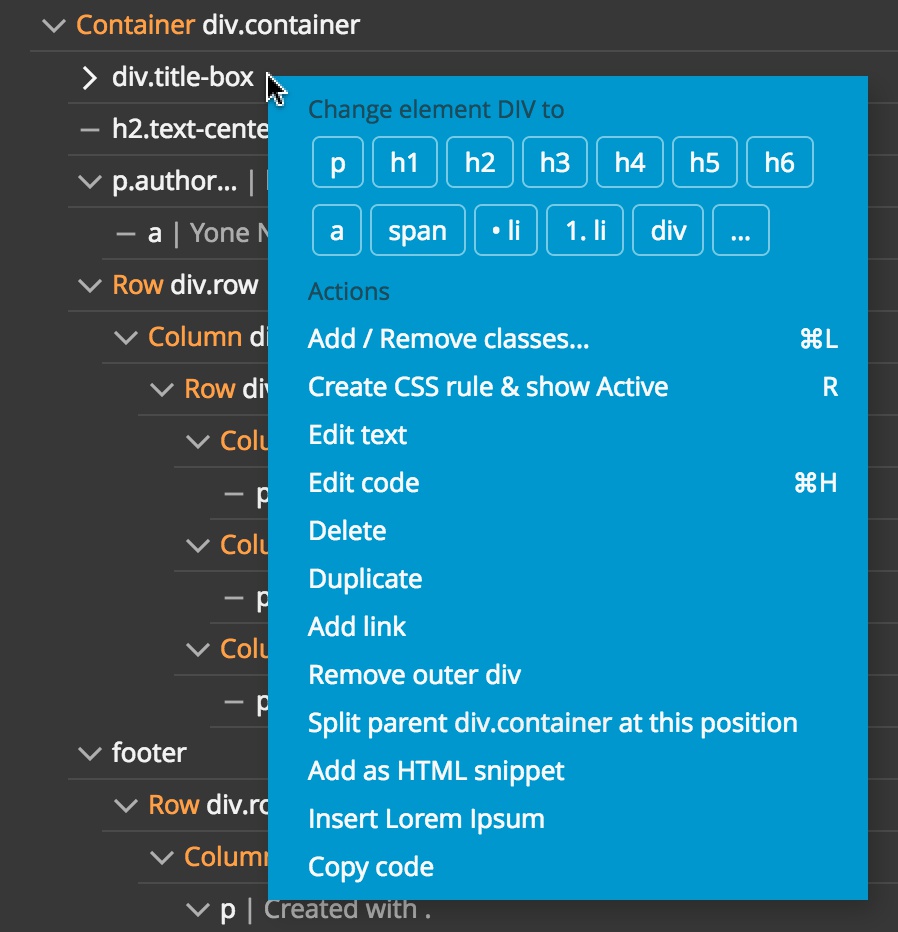
Like in the page view, you can right-click on any element, even if it is not selected. Opening the element’s context menu will not select the element.
Collapsing and expanding nodes
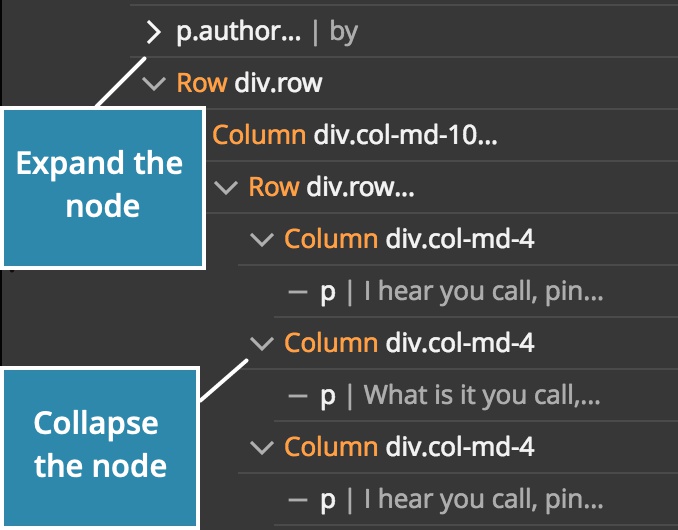
Collapse and expand tree nodes to focus only on the relevant part of the page structure:
- Click on the
to collapse the node. - Click on the
to expand it. - Press
ALT while clicking on the
and
icons to collapse and expand the whole level.
When an element located within a collapsed node is selected on the page, the collapsed branch will be temporarly expanded so that the selected element can be shown in the tree. When you deselect the element, the branch will collapsed back.
Pinegrow keeps track of collapsed nodes by adding the data-pg-collapsed attribute to the collapsed elements. By default, these attributes are removed from the code when you save the page. Use “Support -> Settings -> Remember collapsed and hidden nodes” to tell Pinegrow to keep these attributes in the code and preserve collapsed and hidden nodes between sessions.
Hiding elements
Sometimes an element gets in the way of editing the page. Use to hide the element in the page view. This only hides the element in Pinegrow, while you edit the page.
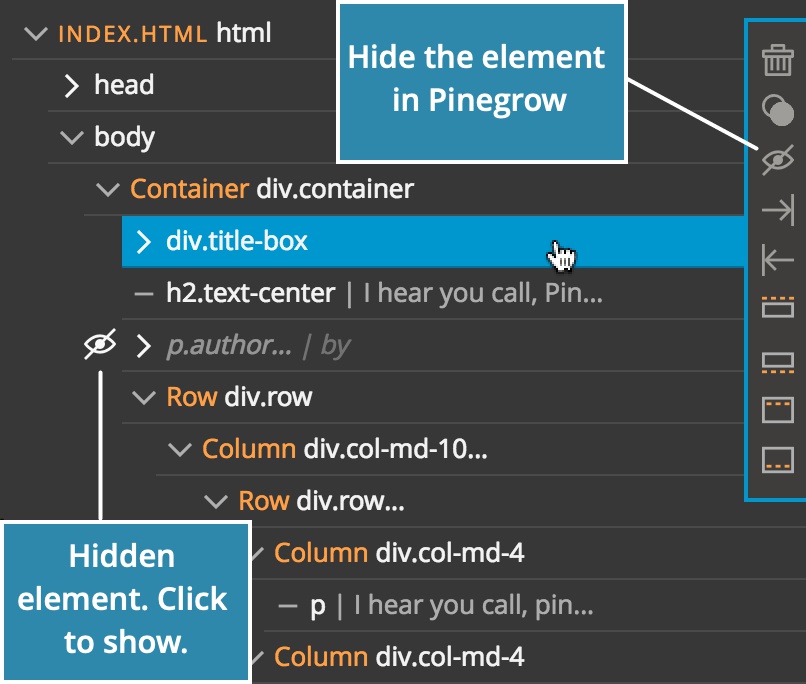
Click on the to show the element.
Pinegrow keeps track of hidden nodes by adding the data-pg-hidden attribute to the hidden elements. By default, these attributes are removed from the code when you save the page. Use “Support -> Settings -> Remember collapsed and hidden nodes” to tell Pinegrow to keep these attributes in the code and preserve collapsed and hidden nodes between sessions.
Drag elements to the Tree
Open the Tree panel.
Dragging elements from the Library to the Tree gives you precise control over the placement of new elements.
Take the element from the Library and drag it over the tree. Insertion line will show the position.
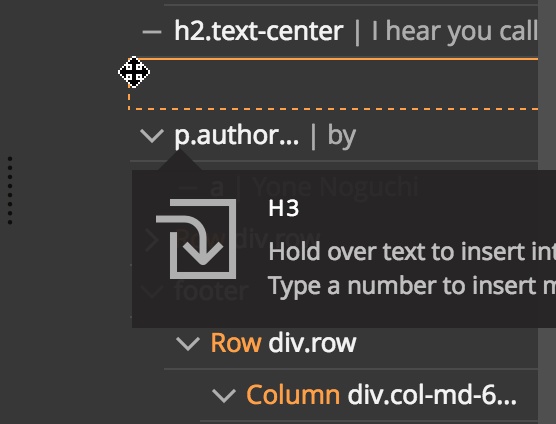
Release the mouse to insert the element at the indicated position.
You can use Repeater to insert more copies of the element.
Press ESC to abort the drag & drop operation without adding the element to the page.
Quick insert into the tree
Open the Tree panel.
Hovering the mouse pointer over the borders between elements in the Tree panel will display orange insertion line at that position. Click when the insertion line is displayed to open a floating Quick insert library.
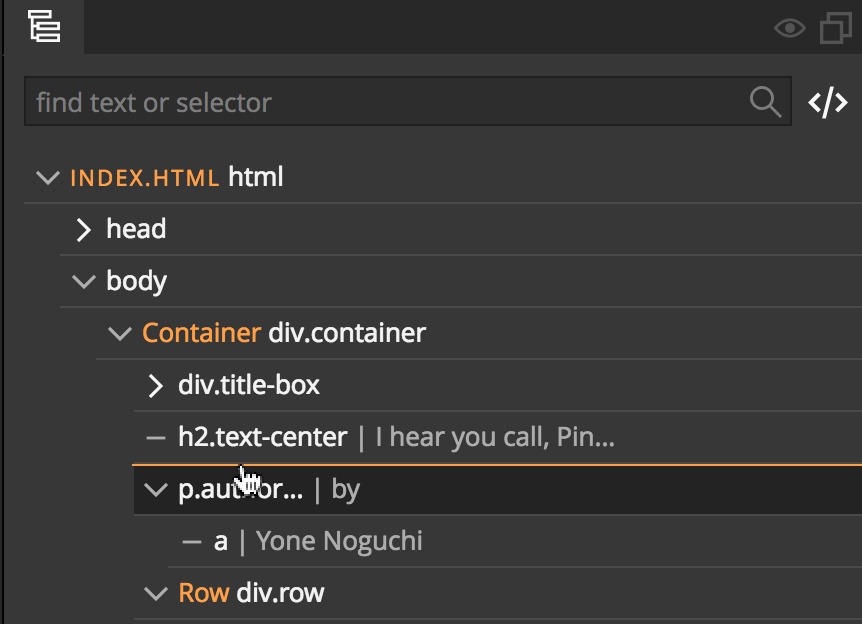
Click on an element in the Library to insert it at the indicated position.
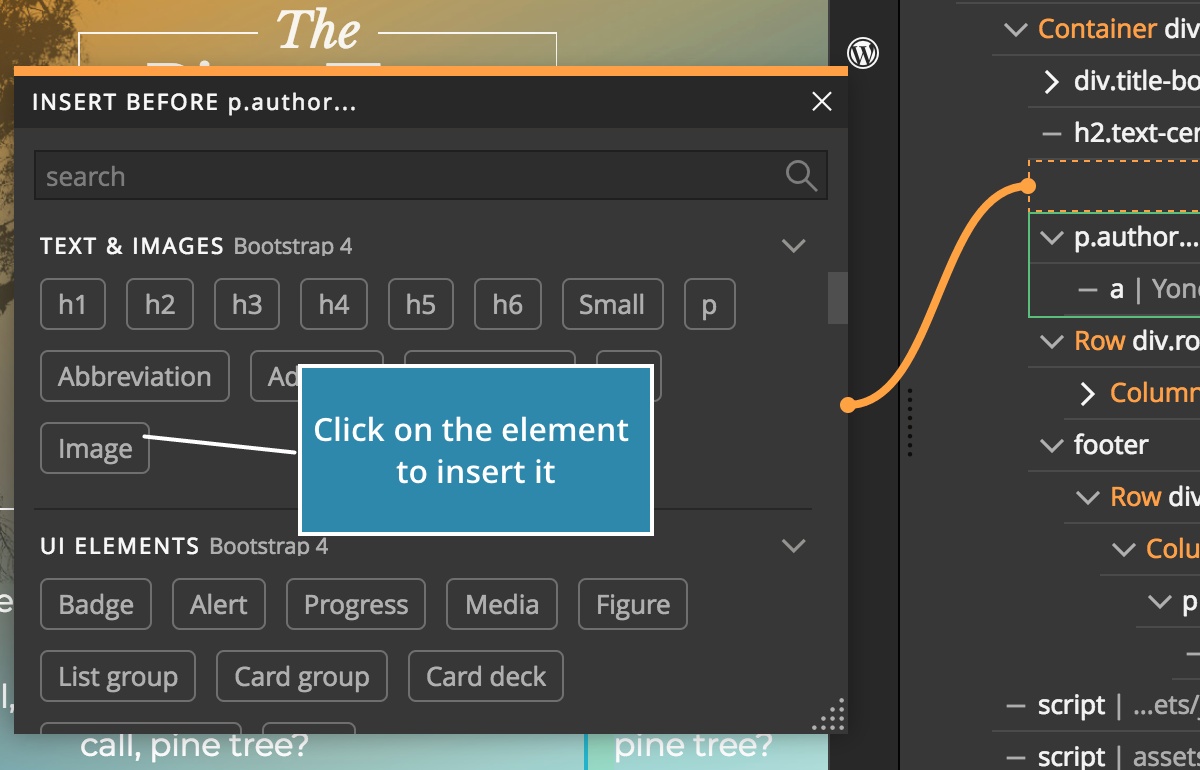
Shortcut Press ESC to close the floating Library.
Moving elements
Grab the element in the tree and drag it to a new position in the tree or on the page.
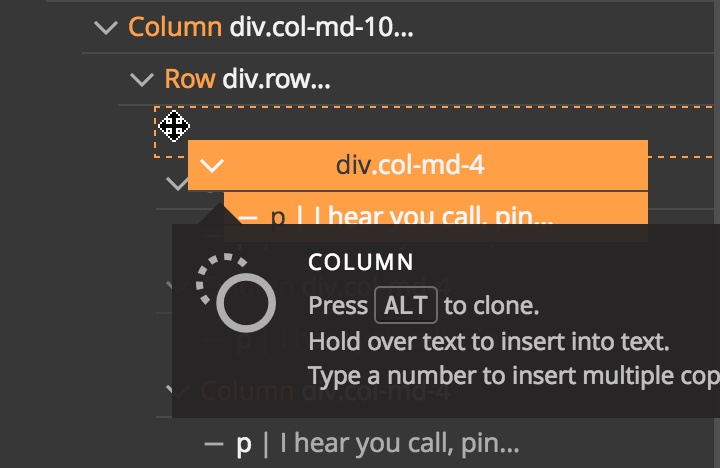
If you move one of the multiple selected elements, all selected elements will be moved to the new position.
If you move the element from or to one of the multiple selected elements, Pinegrow will try to do the same change to all of the selected elements.
Search
Use the search box to find elements on the page.
By default, Pinegrow looks for textual match in the tree and for CSS selector match in the page.
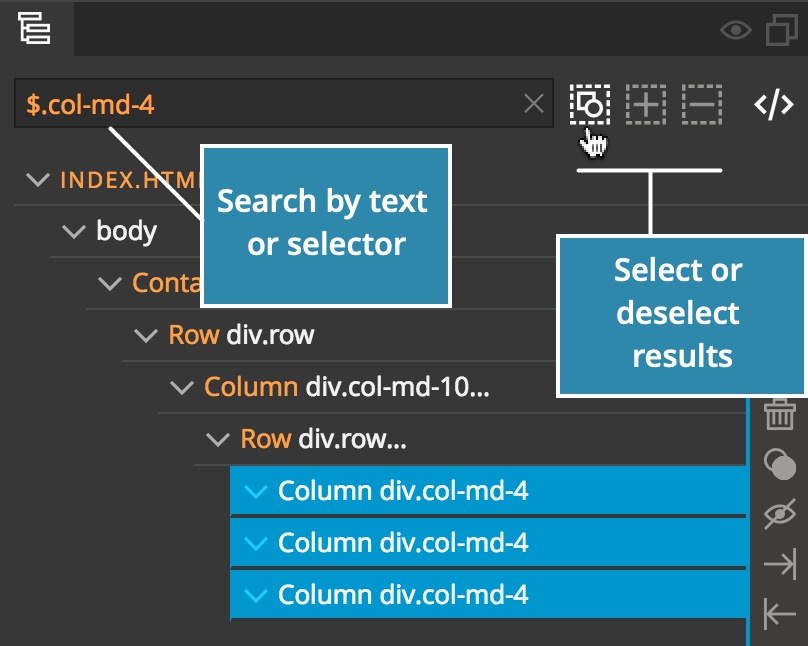
Examples:
- Searching for
divwill search for the text “div” in the tree and for all
<div>elements on the page. -
h2.titlewill search for the text “h2.title” in the tree (it probably won’t be found there) and for all
<h2>elements with class
titleon the page. - Prefix the search string with
$to only do selector search on the page. Looking for
$pwill only find
<p>elements on the page, without including all tree items with the text “p”.
Once one or more search results are found, you can use the selection icons next to the search box to:
- to select page elements found by the search.
- to add search results to the selected elements, without clearing previously selected elements.
- to deselect search results, if they were previously selected.
NoteSelecting more than 10 elements at the same time will take a while. Select too many elements will slow down or crash Pinegrow.
The Source code structure vs. the DOM structure
Every page has two distinct layout structures:
- The Code structure as defined in the source code of the page.
- The DOM structure as it is displayed in the browser, after browser parses the source code.
The Code structure is displayed by default in the Tree panel because it lets you see what’s happening in the source structure of your page. Use the DOM mode when you need to see what’s actually displayed in the browser.
Use to toggle between the two modes.
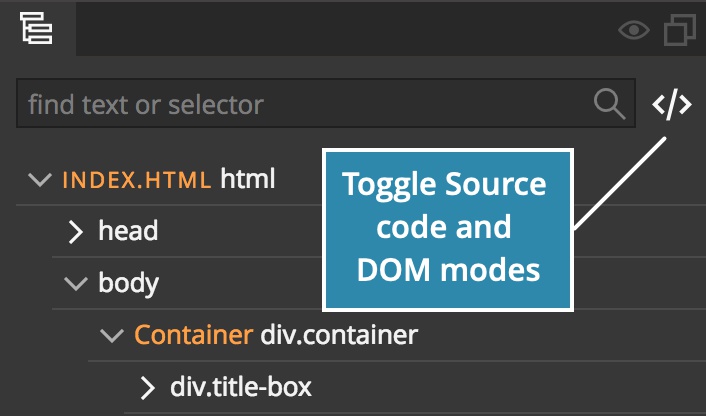
These two structures can differ if the page contains Javascrip code that adds page elements at run-time. For example, a Javascript plugin adds a “page is loading” overlay, or displays a popover. Such elements exist in the DOM structure of the browser, but not in the source code of the page.
Another reason why the structures can differ are syntax and semantic HTML errors in the source code.
For example, the code bellow is invalid because it contains nested P elements:
<p>
    <p>Hello</p>
</p>
Most browsers will render it as:
<p></p>
<p>Hello</p>
The Code structure mode is useful for fixing such errors.
NoteUse “Page -> Check for HTML errors” to inspect and fix syntax errors on the page.