The complete guide to customizing a Tailwind CSS theme
A step by step tutorial to creating custom Tailwind CSS themes, including installing the tools and setting up the build process.
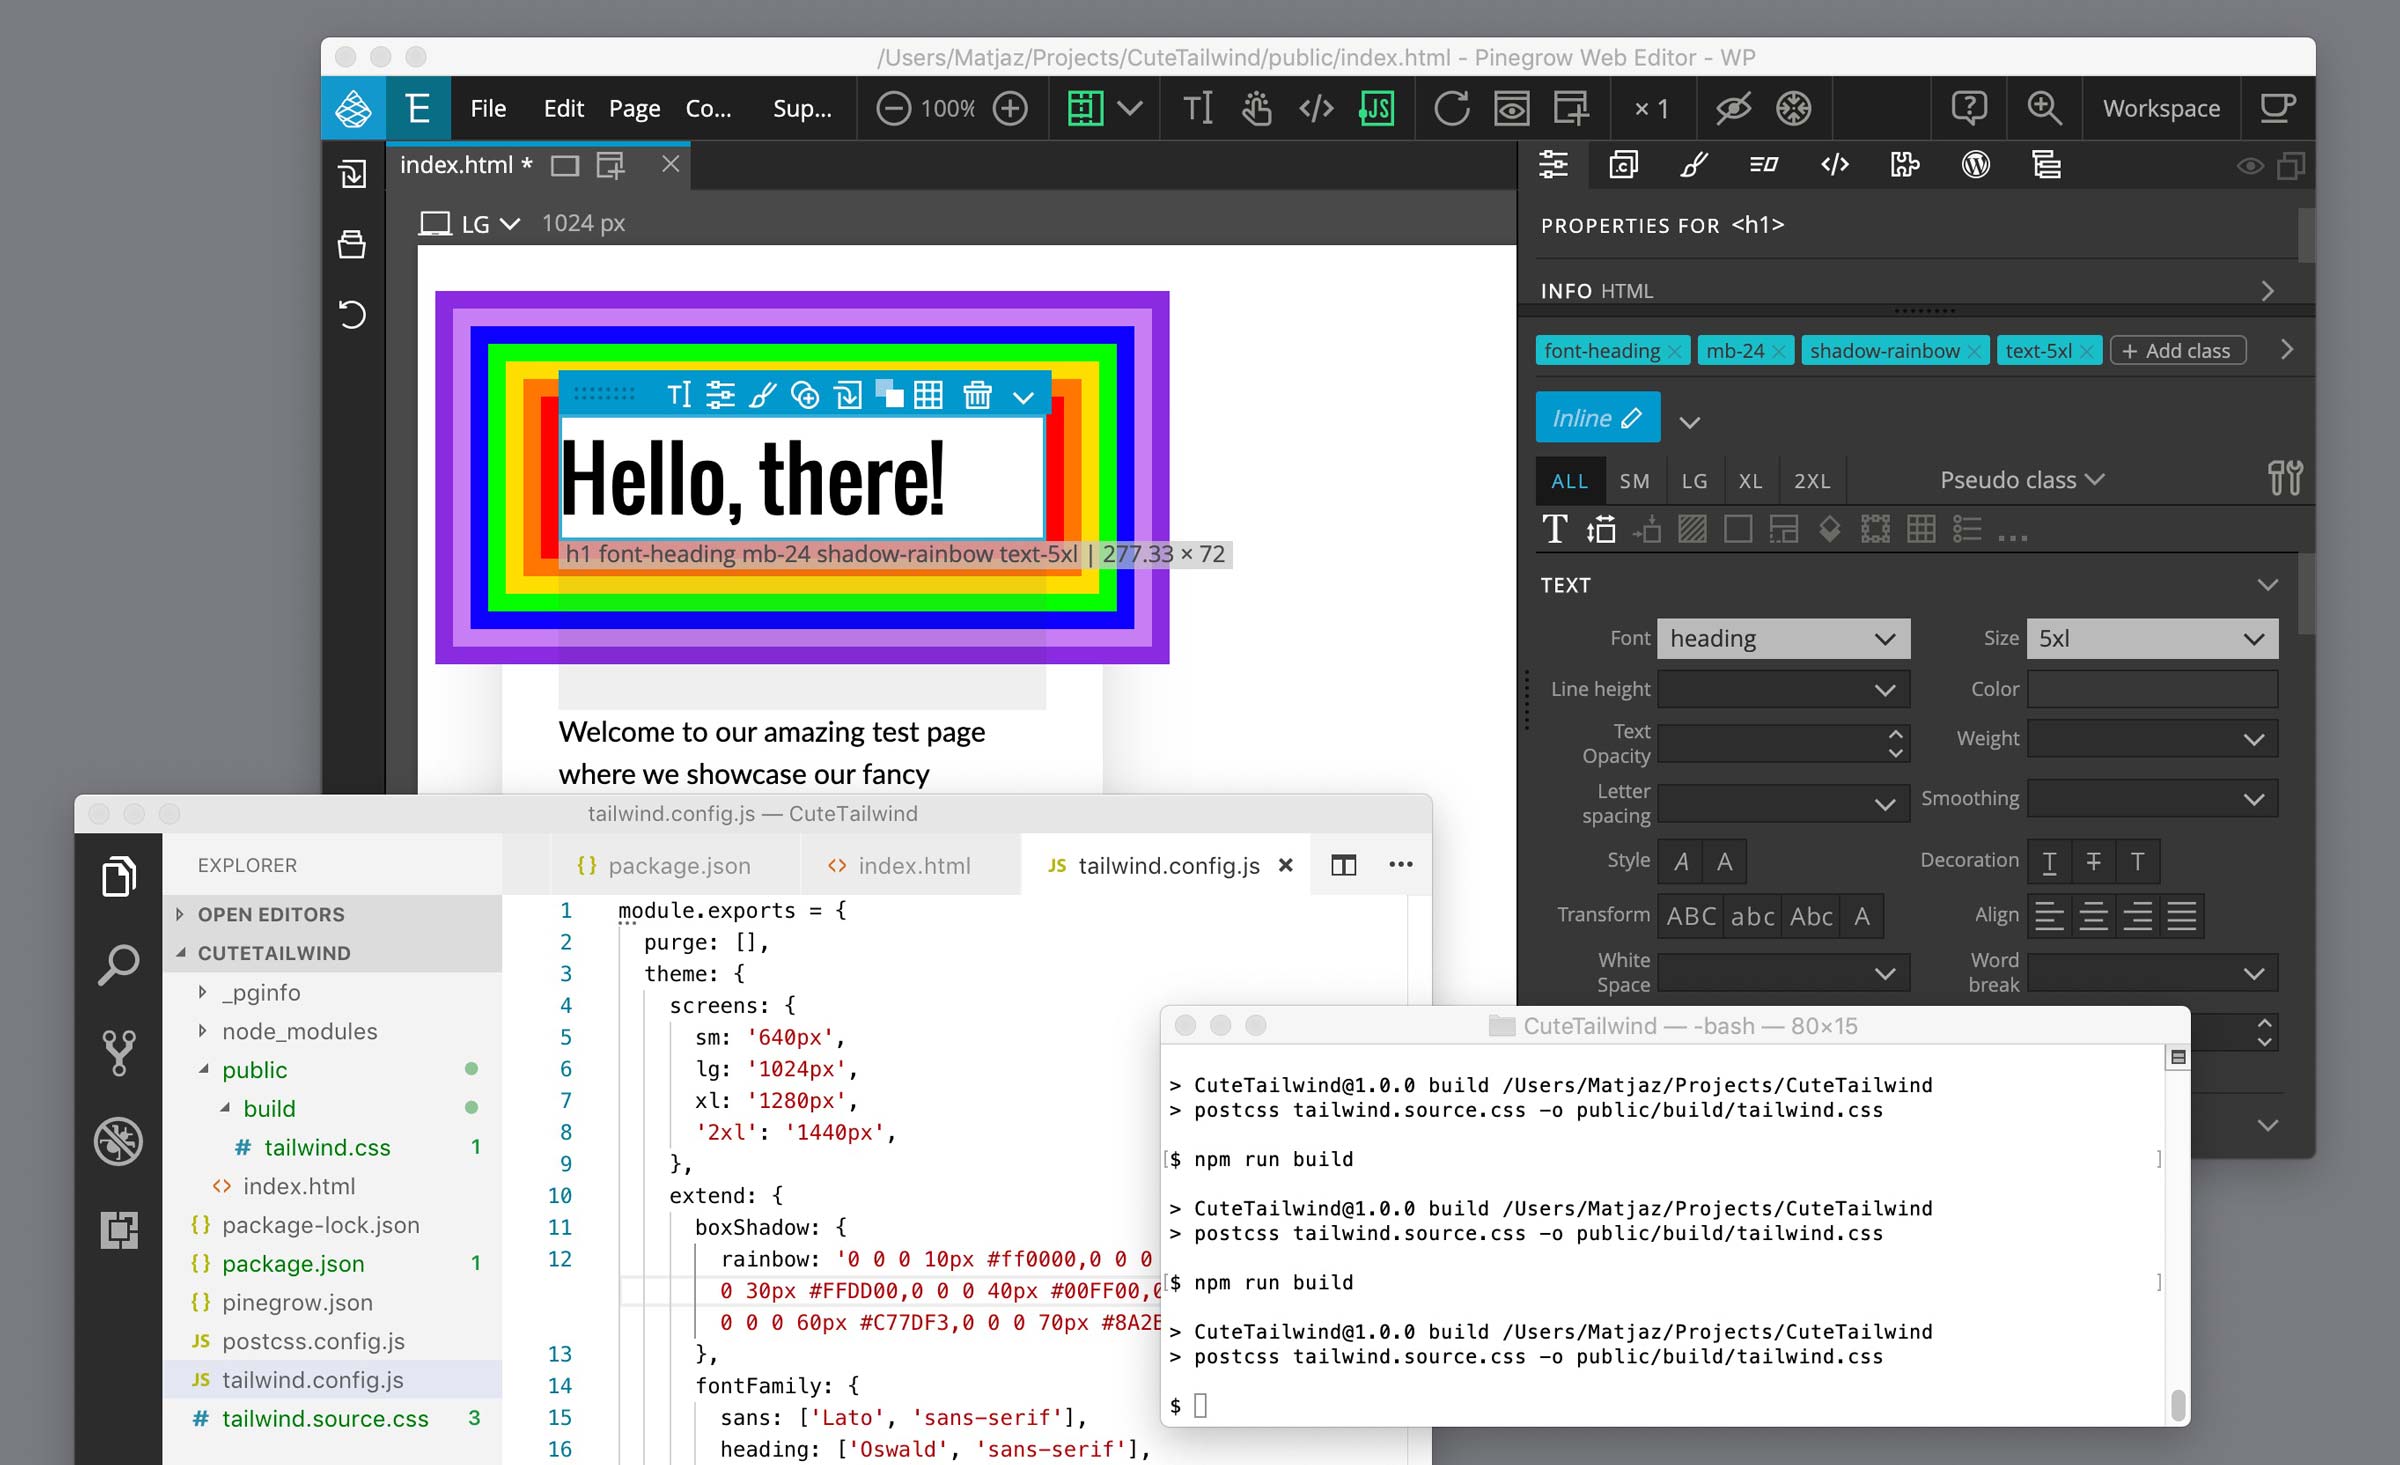
The true power of Tailwind CSS comes from the ability to customize it to fit the needs of each individual project. Almost every aspect of Tailwind CSS can be customized: device sizes, colors, fonts, spacing units, shadows…
In this step-by-step tutorial you will learn how to:
- Install the required tools and setup the process for building customized Tailwind CSS theme.
- Customize theme colors, fonts and other properties.
- Use the customized theme to edit your project with Tailwind Visual Editor.
Although this tutorial is a part of learning resources for Tailwind Visual Editor it can be used without the editor, with you favorite web development tools.
At the moment, Tailwind Visual Editor doesn’t offer a way to customize Tailwind CSS visually. But that’s no reason to stop us from using a customized Tailwind CSS theme.
In this tutorial we’ll learn how to easily customize Tailwind CSS outside of Pinegrow, using the usual Tailwind CSS tools.
Not feeling like copy-pasting the code and running all the config steps? Did something go wrong during the tutorial? Jump to the end of this tutorial to download the finished project.
This tutorial was written with Tailwind CSS 1.6.0. Take a look at the Keeping up with Tailwind CSS development section to see notes specific to later versions.
Installing the tools
Tailwind CSS uses Node.js for compiling its CSS stylesheet.
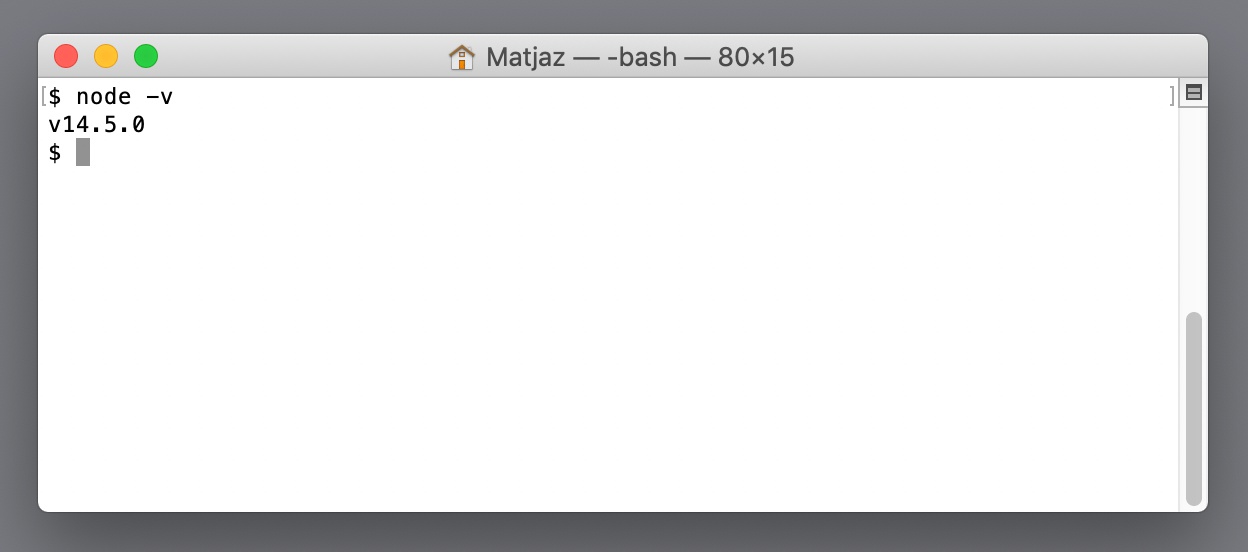
To check if Node is installed on your system, open the Terminal (on Mac) or Command line prompt (on Windows) and type:
node -v
If you get a short message with the version number, for example v14.5.0, you can move to the next section. If not, you need to install Node. You only need to do this step once.
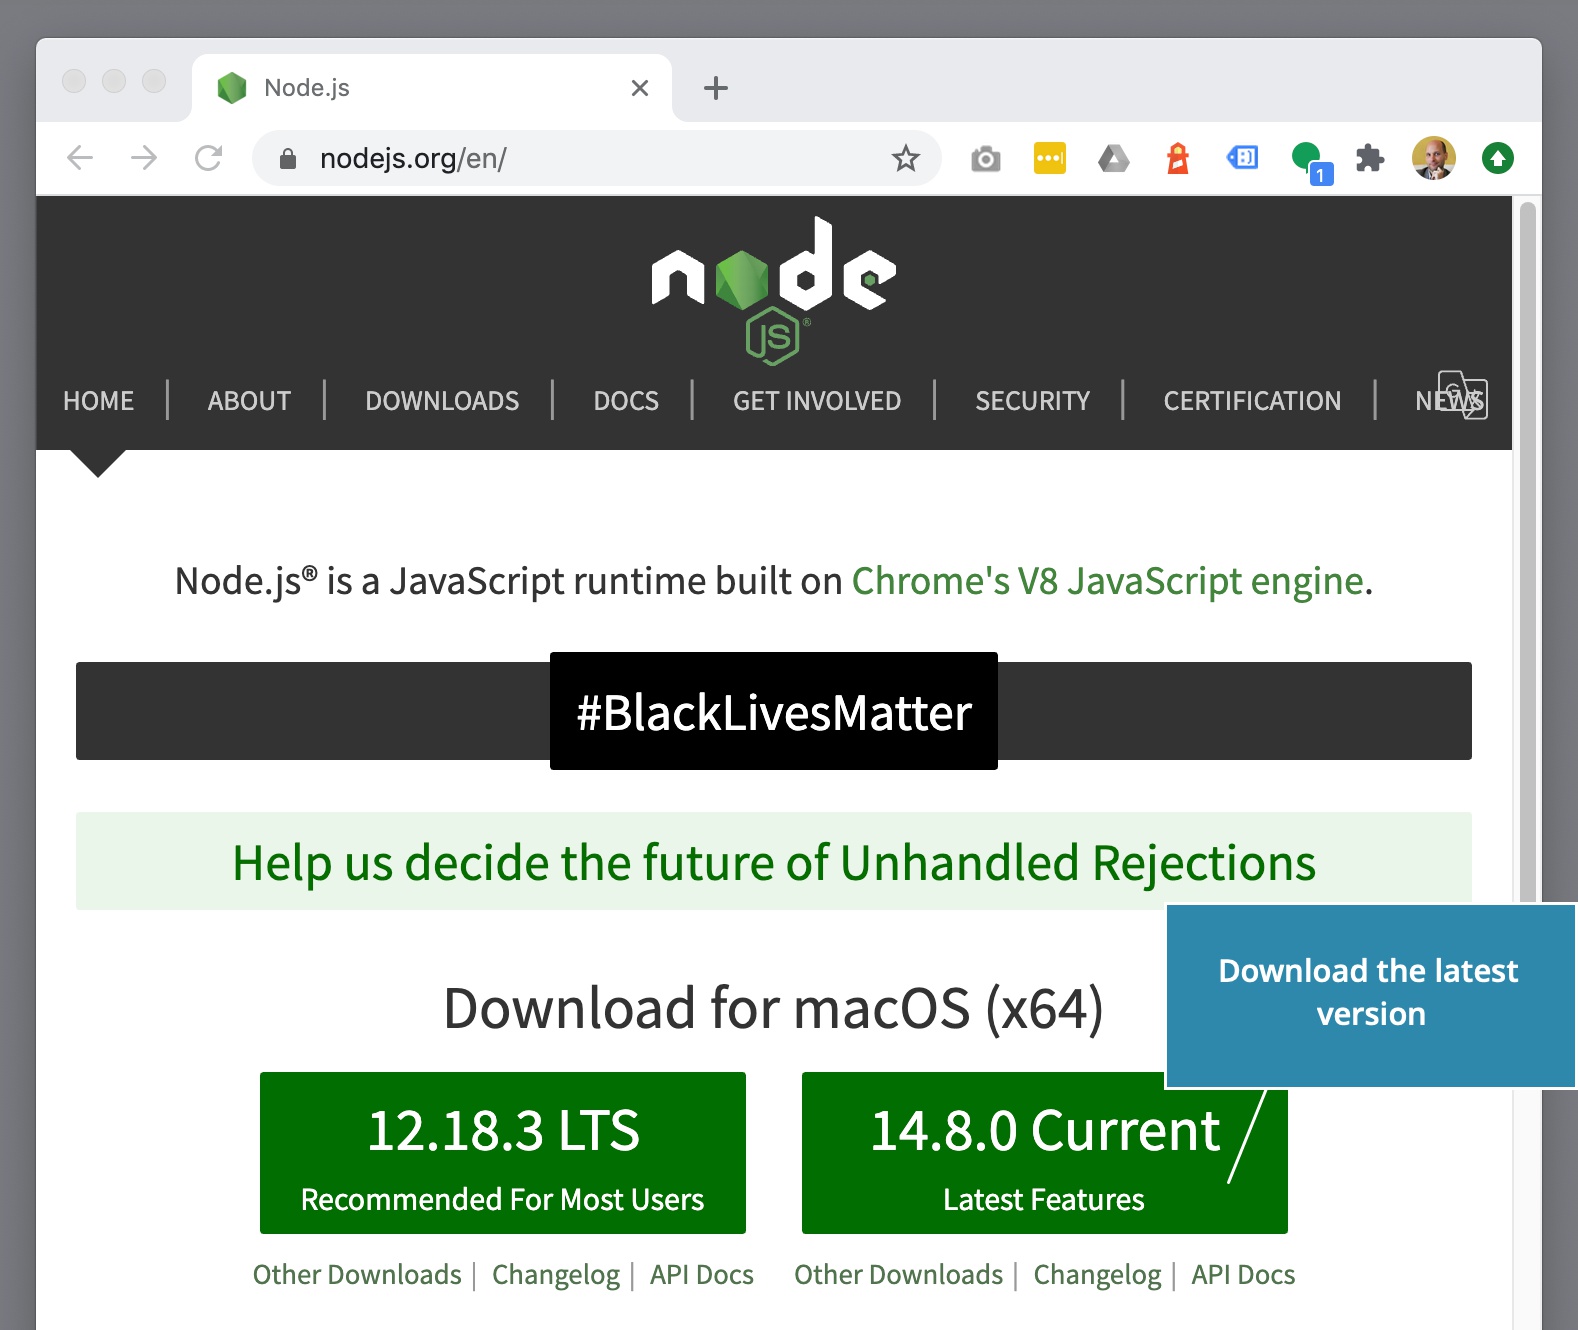
The simplest way to install Node.js is to go to nodejs.org, download the install package for your system, run it and follow instructions.
We won’t cover installation details here. Take a look at Node documentation for your platform.
Verify the installation by running the node -v command again.
Start a new project and setup the build process
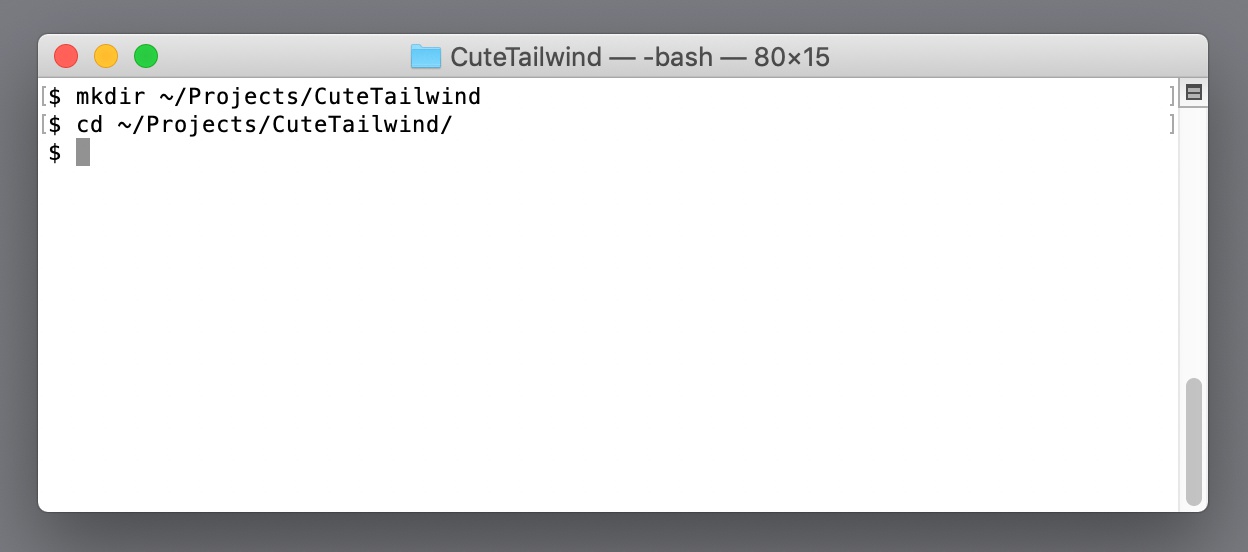
First, create a new folder for your project and navigate there in the Terminal / Command line:
Create package.json
Node stores information about your project in a text file named package.json.
The easiest way to create a default package.json file is by running the command:
npm init -y
This creates a barebones package.json with default settings:
{
  "name": "CuteTailwind",
  "version": "1.0.0",
  "description": "",
  "main": "index.js",
  "scripts": {
    "test": "echo \"Error: no test specified\" && exit 1"
  },
  "keywords": [],
  "author": "",
  "license": "ISC"
}
If you wish you can change the name of the project under the name setting.
Install PostCSS, Autoprefixer and Tailwind CSS
Next we’ll install three Node packages:
- PostCSS handles parsing and generating CSS code
- Tailwind CSS uses PostCSS to generate its CSS stylesheet based on the theme settings
- Autoprefixer is used to add cross-browser compatibility to the generated stylesheet
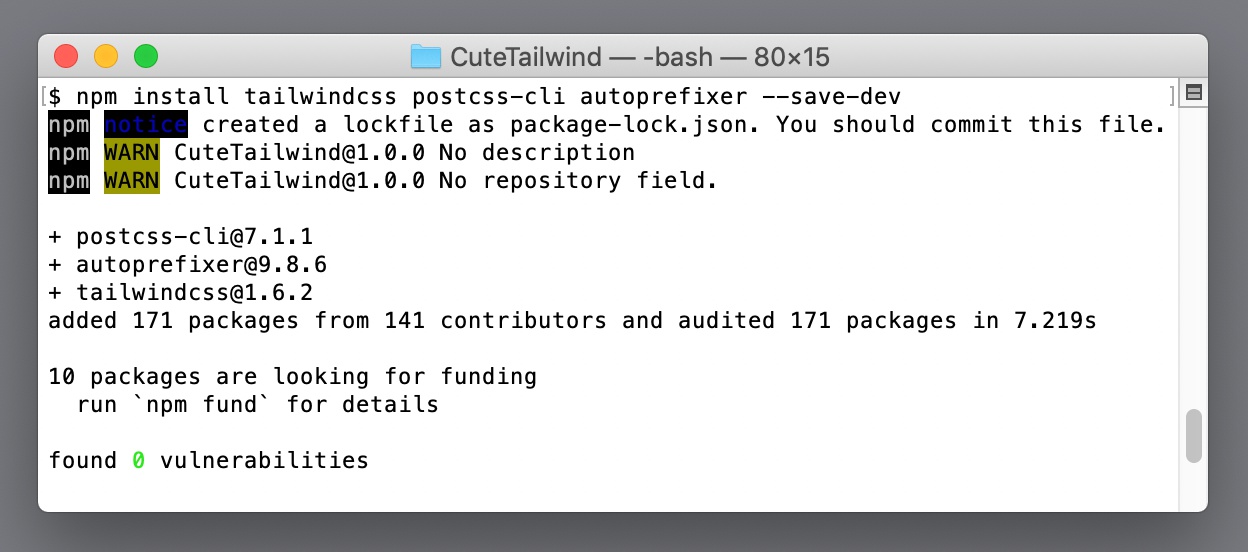
We’ll install all three with just one command:
npm install tailwindcss postcss postcss-cli autoprefixer --save-dev--save-dev argument will list these packages in package.json under development dependancies, so that we can later easily reinstall or update them.
The output of the command will look like this:
Generate tailwind.config.js
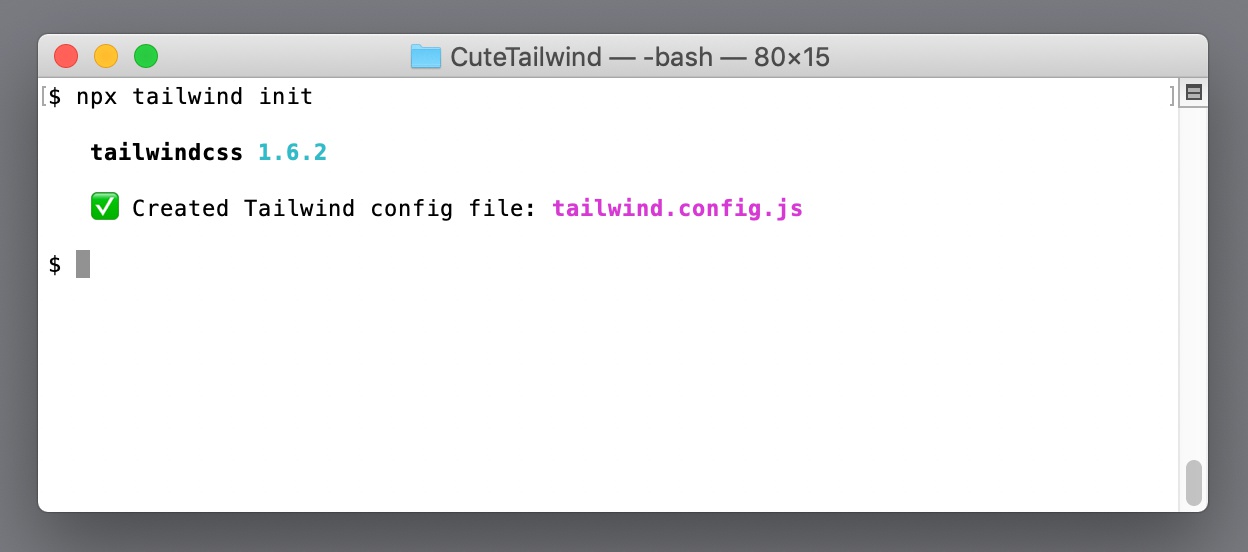
The file tailwind.config.js is used for Tailwind CSS theme customization. We will add our colors, fonts and other settings there. But first we need to create this file.
The easiest way to create it is using the command:
npx tailwind initThe output will tell us that the file was created:
Use your favorite code editor to open it. The content is:
module.exports = {
  purge: [],
  theme: {
    extend: {},
  },
  variants: {},
  plugins: [],
}
It’s just an empty structure for further customization.
Create tailwind.source.css source file
Starting in Tailwind CSS 1.6.0 this step is no longer needed. But we will do it anyway because this file can be also used for adding custom CSS rules to the generated stylesheet.
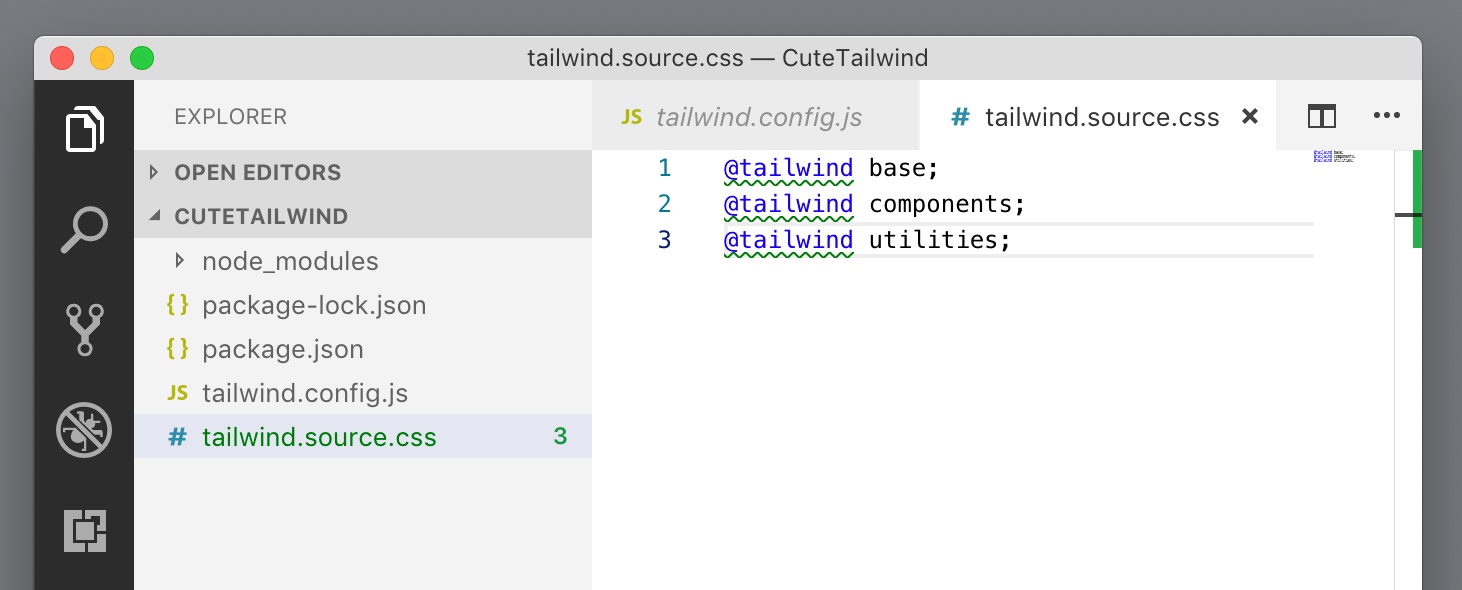
In the project folder create the file tailwind.source.css and paste in the following code:
@tailwind base;
@tailwind components;
@tailwind utilities;
As you can see this is not a regular CSS code. These are instructions that will be processed by PostCSS in order to generate the CSS stylesheet.
The project structure should look like this, with files tailwind.config.js and tailwind.source.css in the top project folder:
Create folder for the website and compiled resources
Our top project folder now contains files that are needed to build the project and are not part of the website files that we will upload to the web server.
It is a good idea to create a special folder that will contain all website resources including HTML files, images, compiled Tailwind CSS stylesheet and so on.
We will call it public. That’s a convention that helps us distinguish what is the public part of the project and what is the development part that should not be uploaded online, both for security and performance reasons.
Let’s create the public folder in the terminal:
mkdir publicInside the public folder we will create the folder build that will contain the compiled Tailwind CSS stylesheet:
mkdir public/buildThe name build reminds us that these resources are generated by the build process and thus should not be edited directly.
Don’t cd into these folders. Let’s stay at the top project folder for now.
Create PostCSS configuration
Now we need to create a file that will tell PostCSS what to do.
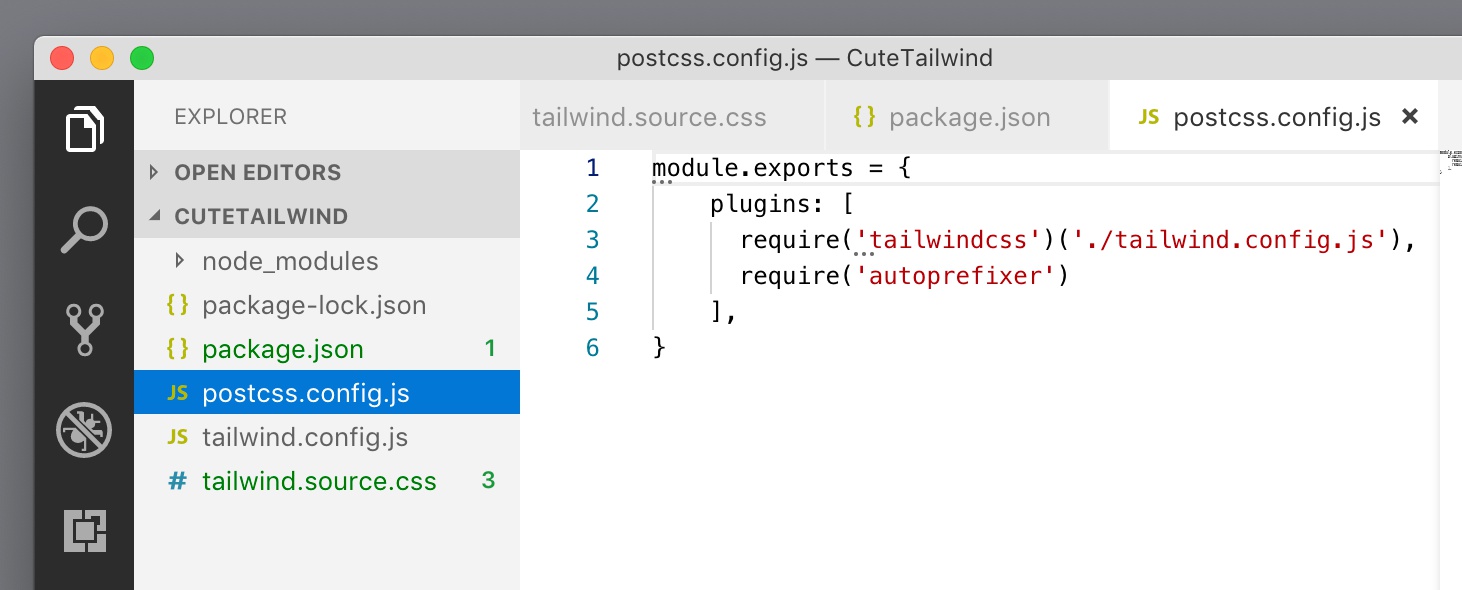
Create postcss.config.js in the project folder and paste in the code:
module.exports = {
  plugins: [
    require('tailwindcss')('./tailwind.config.js'),
    require('autoprefixer')
  ],
}
This tells PostCSS to use Tailwind CSS plugin with our custom theme configuration and autoprefixer to build the CSS stylesheet.
Setting up the build process
Now, we need to tell Node.js how to actually run the build process.
Open package.json and add the following line at the start of the scripts section:
"build": "postcss tailwind.source.css -o public/build/tailwind.css",The whole package.json should look like this:
{
  "name": "CuteTailwind",
  "version": "1.0.0",
  "description": "",
  "main": "index.js",
  "scripts": {
    "build": "postcss tailwind.source.css -o public/build/tailwind.css",
    "test": "echo \"Error: no test specified\" && exit 1"
  },
  "keywords": [],
  "author": "",
  "license": "ISC",
  "devDependencies": {
    "autoprefixer": "^9.8.6",
    "postcss-cli": "^7.1.1",
    "tailwindcss": "^1.6.2"
  }
}
Don’t forget to save all the changed files.
Run the build process
Congratulations! Now we are ready to start the build process and generate our first Tailwind CSS file by running the command:
npm run buildThe output will tell us that PostCSS took our tailwind.source.css file and generated the CSS file public/build folder/tailwind.css:
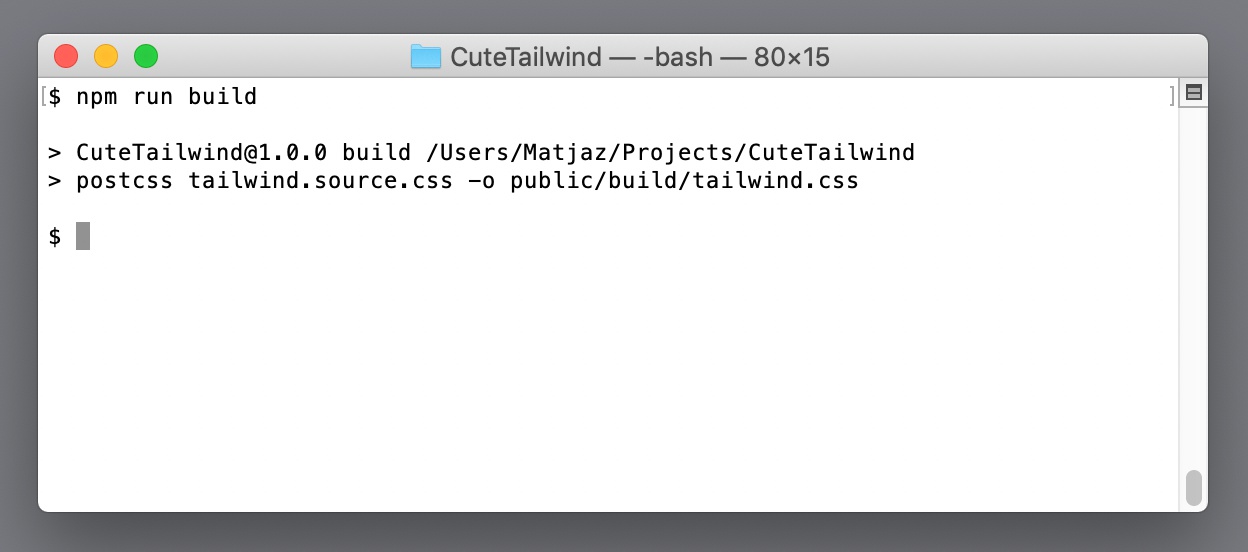
If you get warnings about some Tailwind CSS features being removed in the future, take a look at the Keeping up with Tailwind CSS development section at the end of this guide.
We can verify that the tailwind.css was created in the public/build folder by opening the file in the code editor:
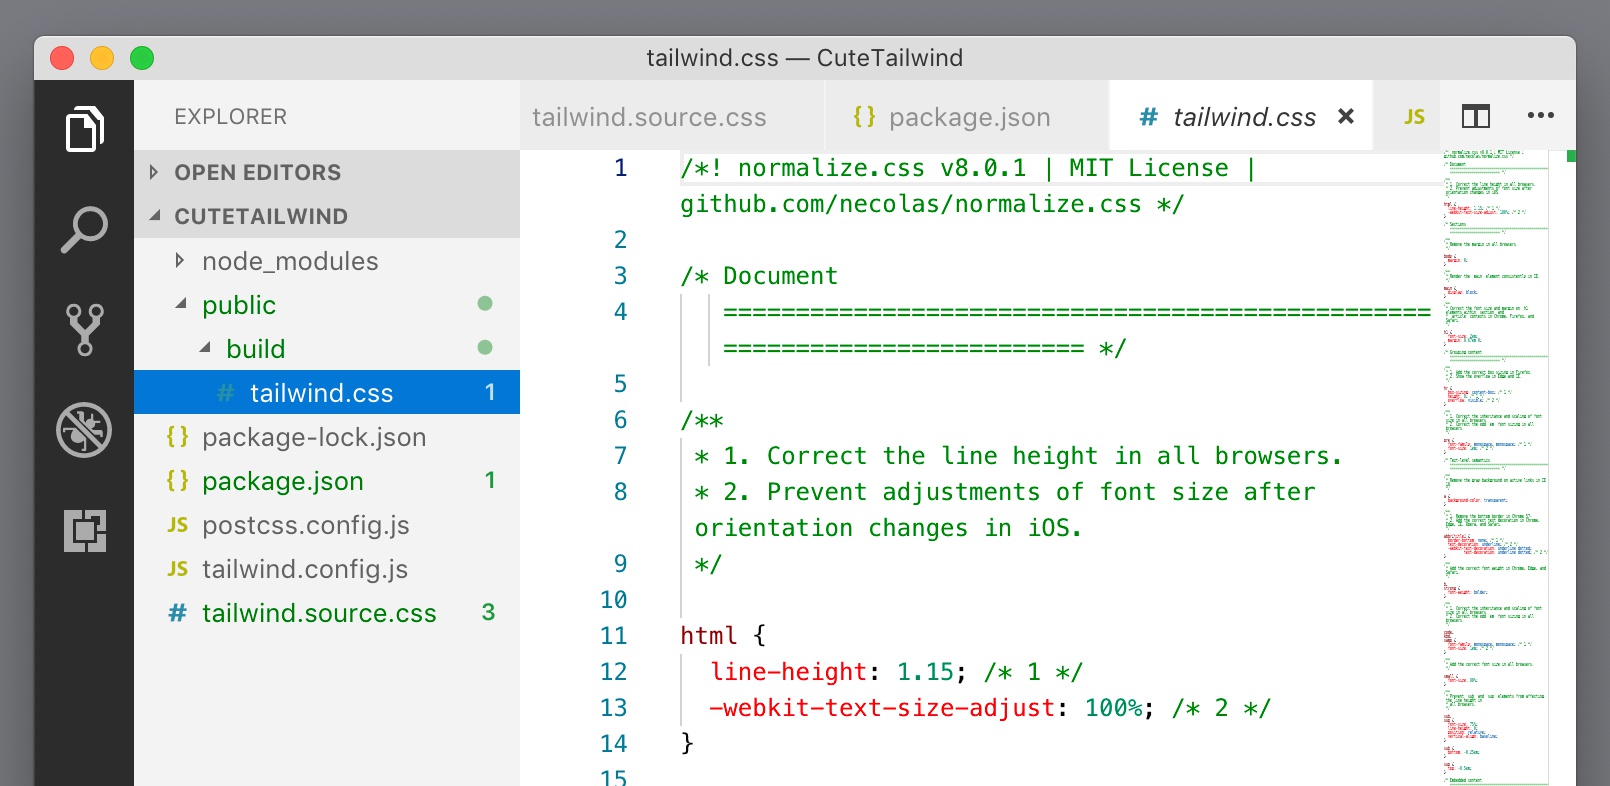
Create the HTML file
Now we need to create the index.html file where we will use the new stylesheet.
Create index.html in the public folder (because it will be a part of the deployed website) and paste in the code, or feel free to come up with your own test layout.
<!DOCTYPE html>
<html>
    <head>
        <meta charset="utf-8">
        <title>New page</title>
        <link rel="stylesheet" href="build/tailwind.css">
    </head>
    <body>
        <h1>Hello, there!</h1>
    </body>
</html>
The project structure should now look like this:
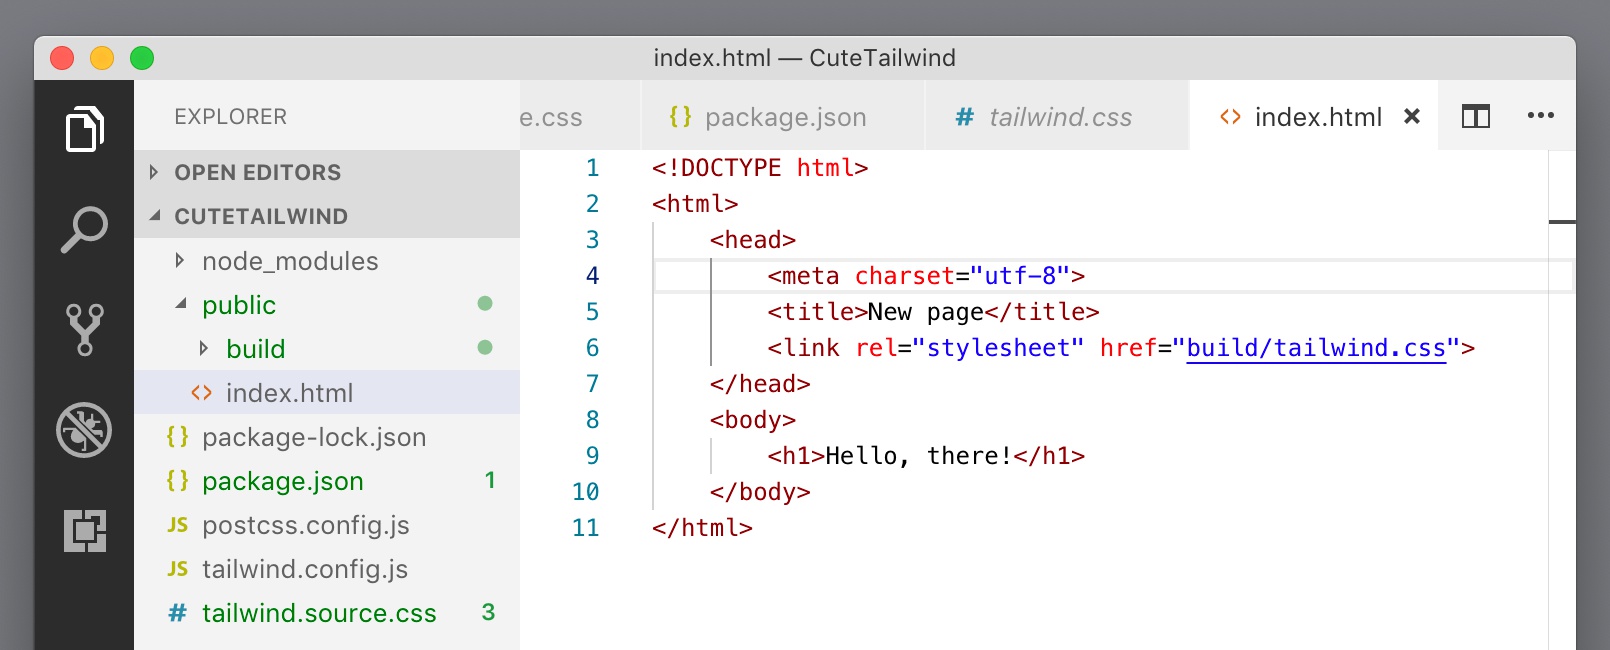
With that we are ready to start customizing Tailwind CSS.
Customizing our Tailwind CSS theme
We’ll edit tailwind.config.js to customize the Tailwind CSS theme.
There are two main ways how we can customize the theme:
- By replacing default values in the
themesection - By extending default values in
theme.extendsection
In most cases it is easier to extend the default values.
Overriding an existing color
First, let’s override the default blue color. The color blue is already present in the default theme, so our custom values will override the default value.
We’ll use the same numbered notation for the color shades to override the blue color in theme.extend.colors.blue.
The tailwind.config.js file should now look like this:
module.exports = {
  purge: [],
  theme: {
    extend: {
      colors: {
        blue: {
          '100': '#72c1df',
          '200': '#5bb7d9',
          '300': '#43add4',
          '400': '#2ca2ce',
          '500': '#1498c9',
          '600': '#1289b5',
          '700': '#107aa1',
          '800': '#0e6a8d',
          '900': '#0c5b79'
        },
      },
    },
  },
  variants: {},
  plugins: [],
}
Adding a new color
Let’s also add a new color – gold. Shades are optional. We can use any naming scheme for the shades. Here we will use light, normal, dark. Note, we do that for an example’s sake. In general it is best to use consistent naming scheme within a project.
We will add the code for the gold color to theme.extend.colors, just under the color blue:
blue: {
    ///... blue shades
},
gold: {
    light: '#ddbf5f',
    base: '#d4af37',
    dark: '#aa8c2c'
},
Compiling the Tailwind CSS stylesheet
Let’s compile the stylesheet by running the command:
npm run buildWe might get an error if we have a syntax error in the tailwind.config.js code. If that happens take a close look at commas and brackets.
We can now use customized Tailwind CSS utility classes on our web page. We will use Pinegrow’s Tailwind Visual Editor to do that. If you are using a different tool just skip steps related to Pinegrow and do the equivalent operations in your tool.
Opening the project in Pinegrow Web Editor
You will need Pinegrow version 5.973 or above. Free trial is available if you want to take it for a spin.
Run Pinegrow, select Open project and choose our top project folder.
In the Project panel, open public/index.html. Pinegrow should detect Tailwind CSS and activate the Tailwind Visual Editor. Use manual activation if the stylesheet name does not contain tailwind and is thus not automatically detected.
Customizing Tailwind Visual controls in Pinegrow
Let’s select the Heading 1 on the page and open the Properties panel. Tailwind visual controls are located there, on the right side.
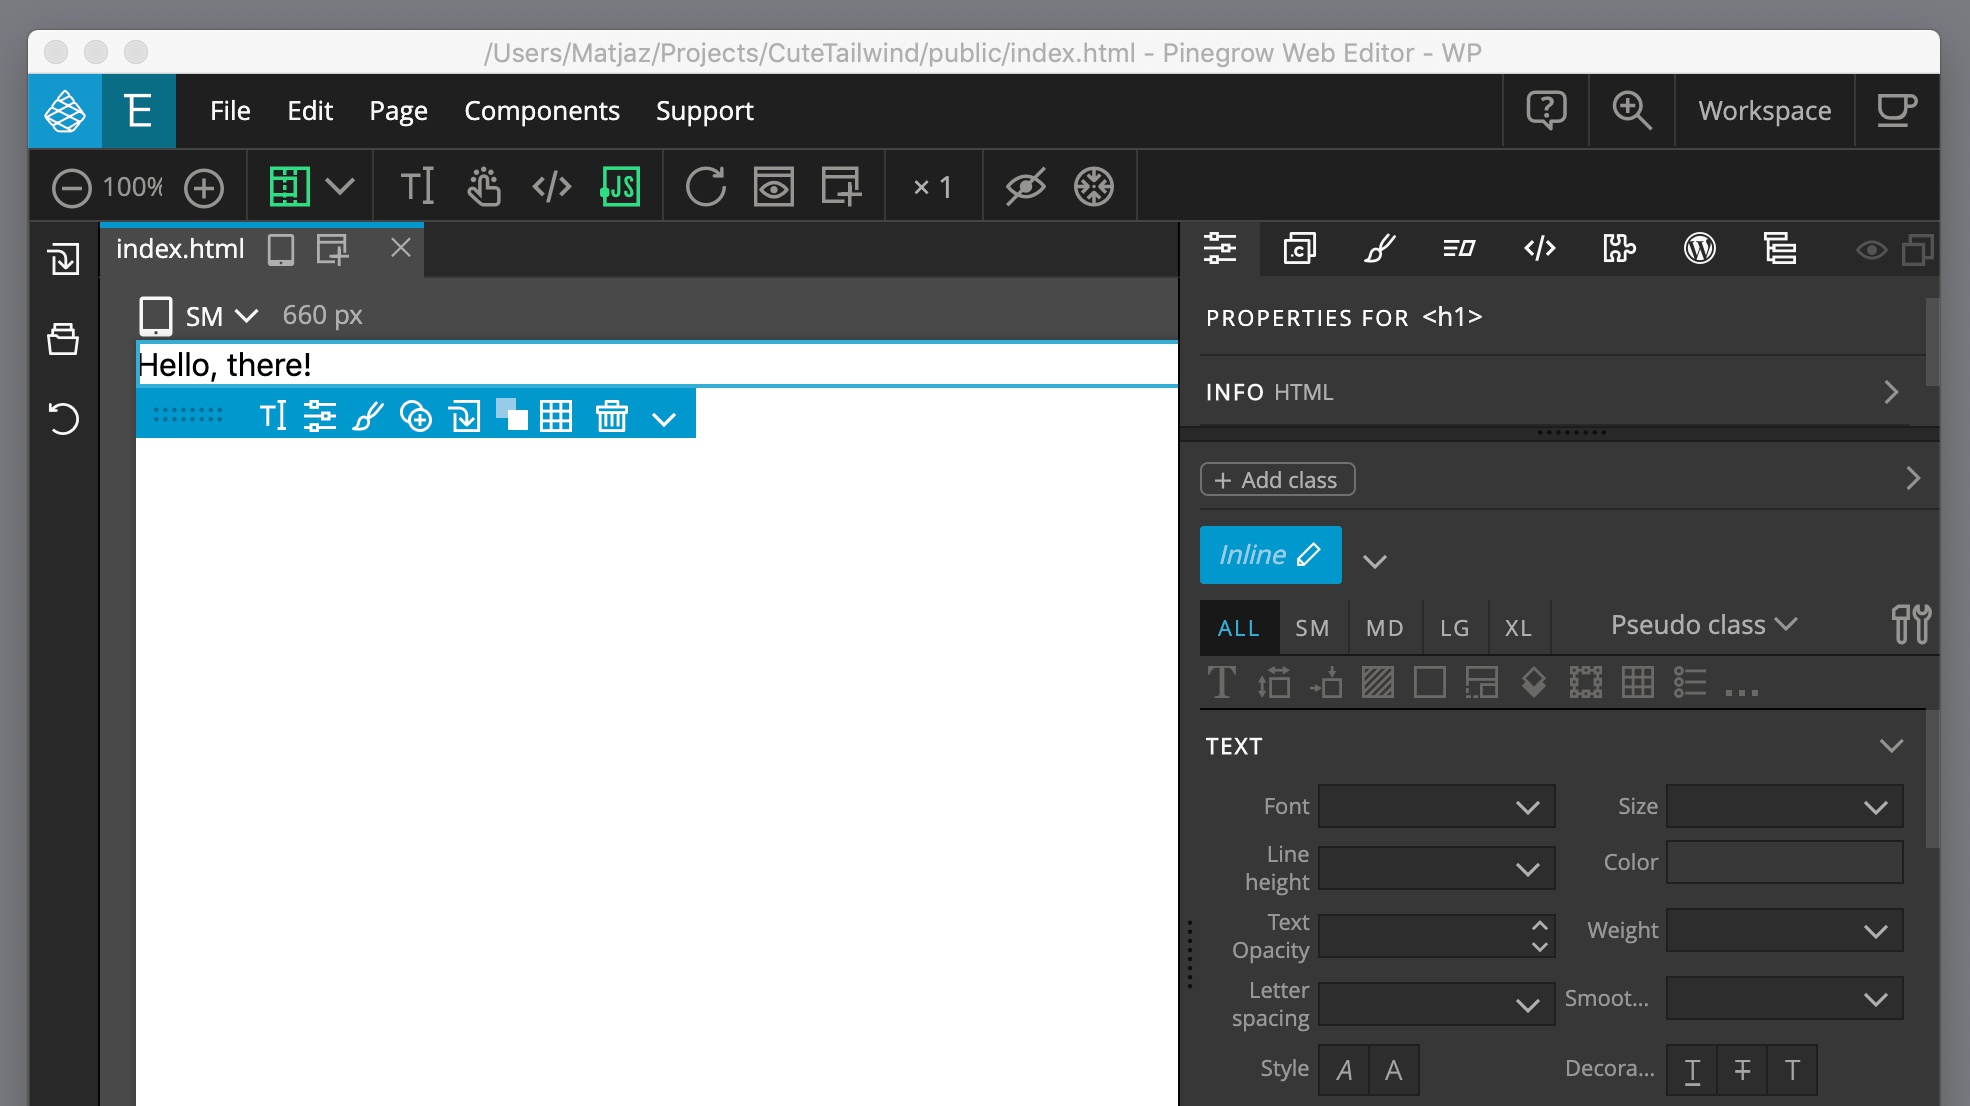
Open the color picker for the text color. There we notice that our custom colors are not listed there: the blue color has the default appearance and the gold is missing:
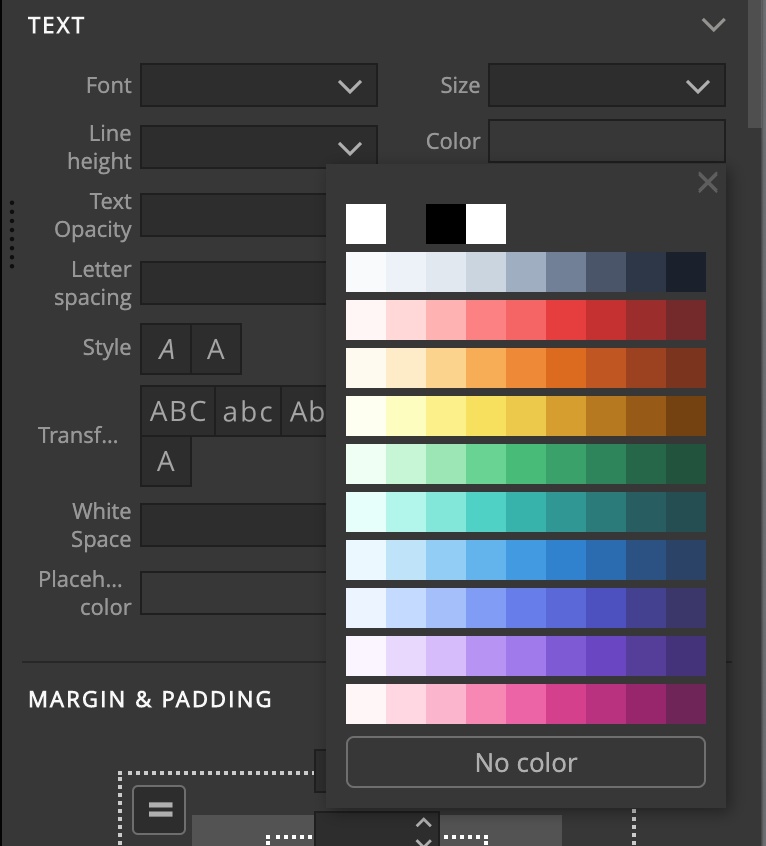
We need to first tell Pinegrow to customize visual controls.
Click on the Tools & Settings icon and select Customize visual controls:
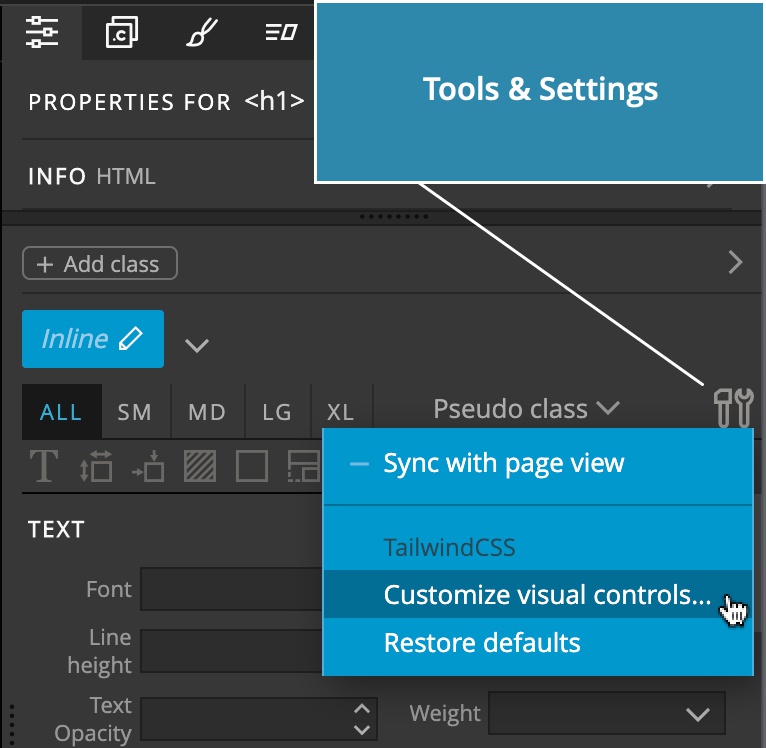
This opens the customize dialog box with tailwind.css already selected:
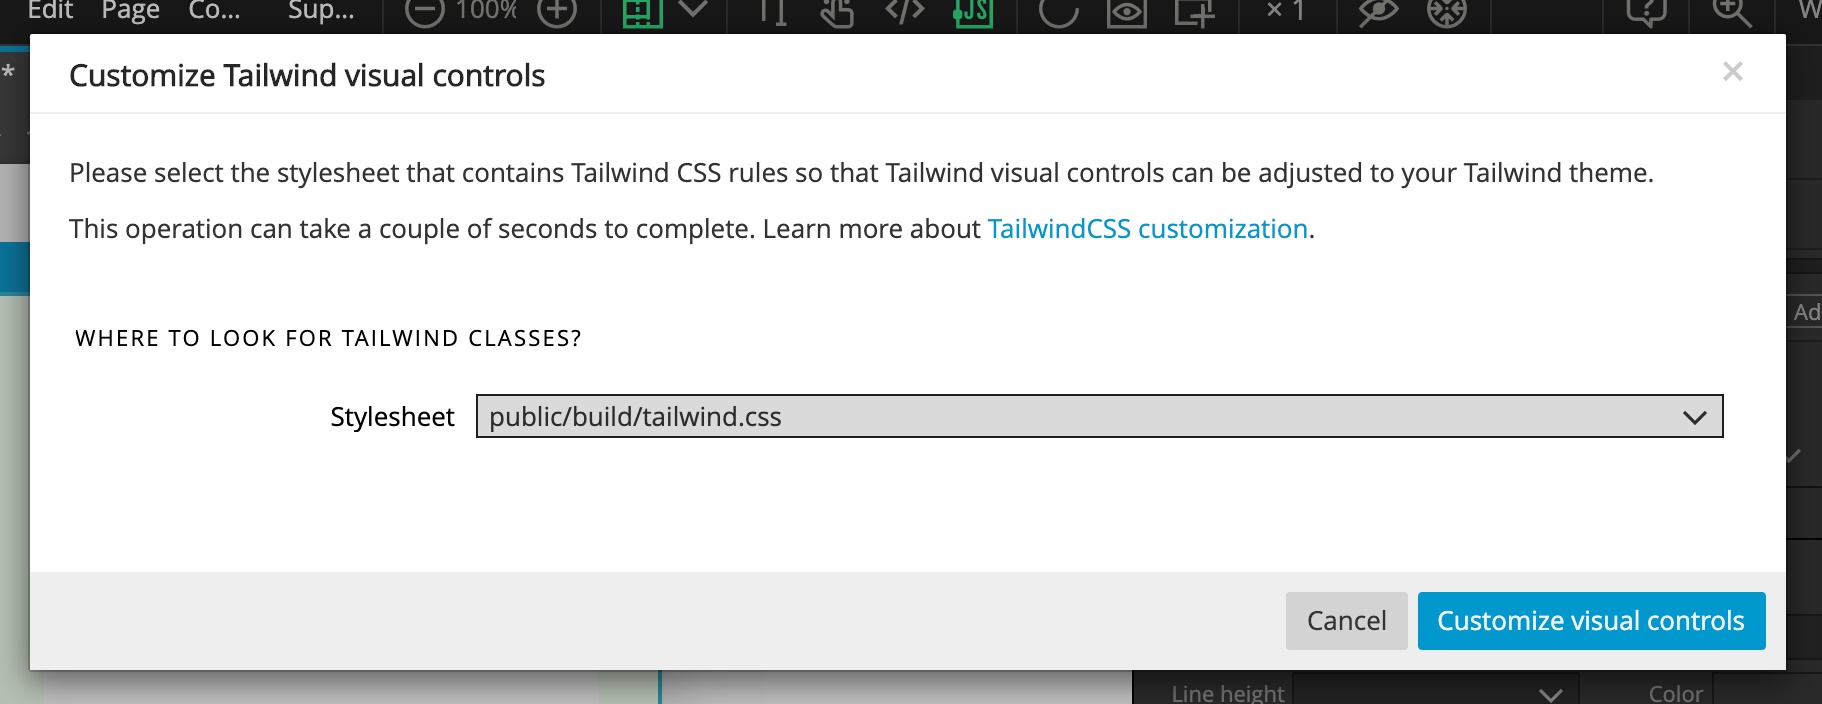
After clicking on Customize visual controls button, Pinegrow will inspect the stylesheet and adjust the visual controls. If you are curious, learn more about customizing visual controls.
Opening the text color picker reveals both customized colors: the changed blue and the new gold color, with all their shades:
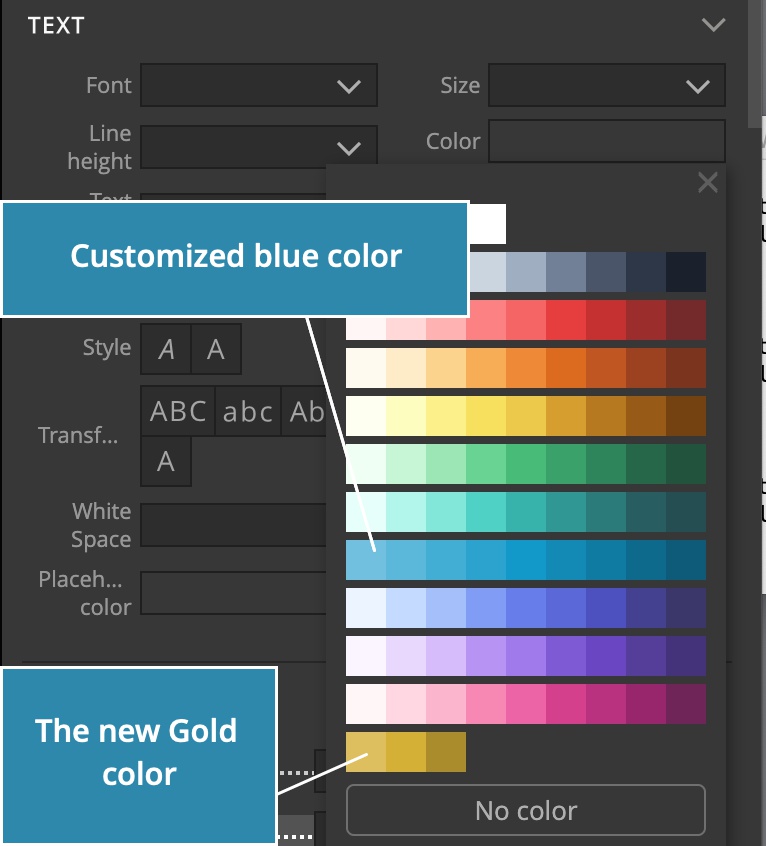
We can now use our custom colors:
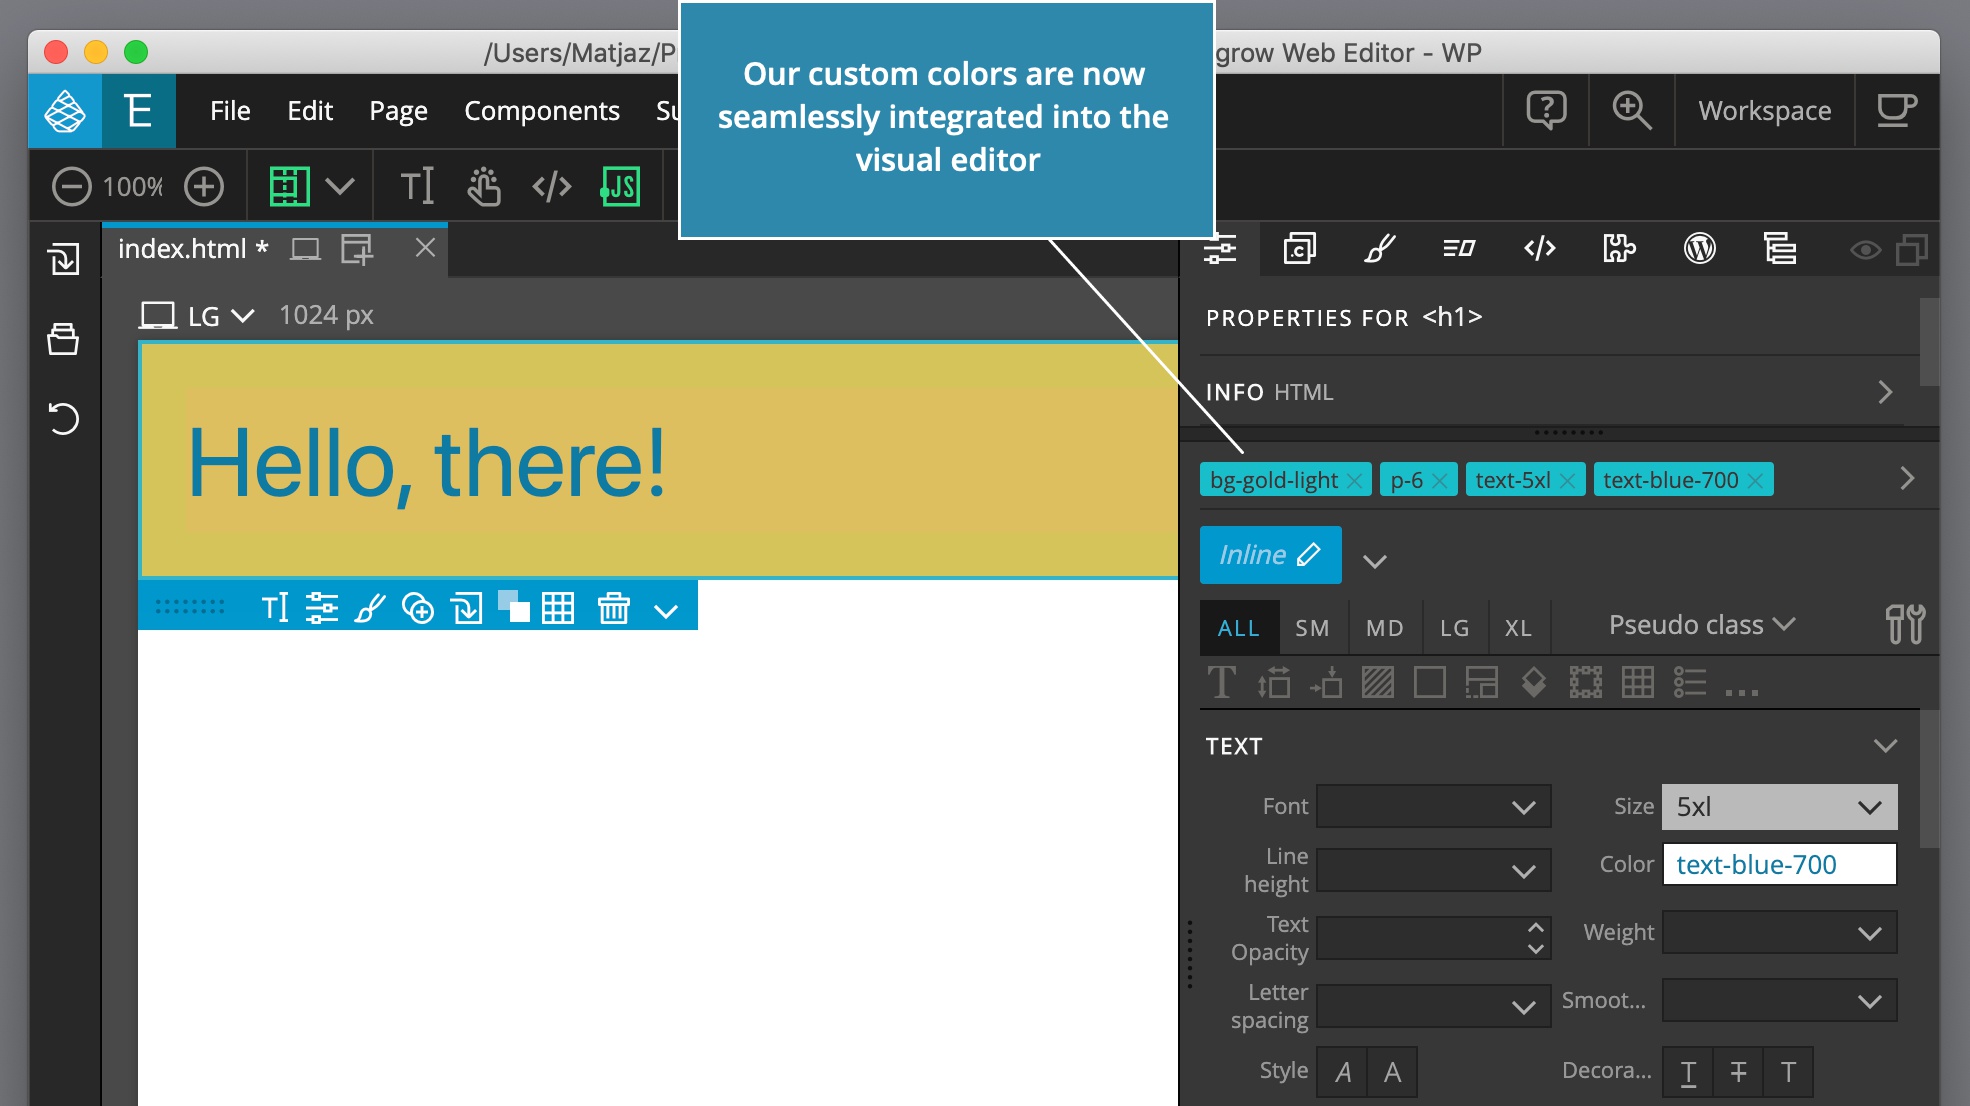
Customizing fonts
Default Tailwind theme comes with three font family values: sans, serif and mono. The sans is used as the default font on the page.
Let’s change it. We’ll use Lato from Google Fonts as the new sans font.
Although we could use Pinegrow’s Page -> Manage Google Fonts tool to add fonts to the page, we will import them directly into the stylesheet. This is more portable solution because we will not need to link fonts to each individual HTML file.
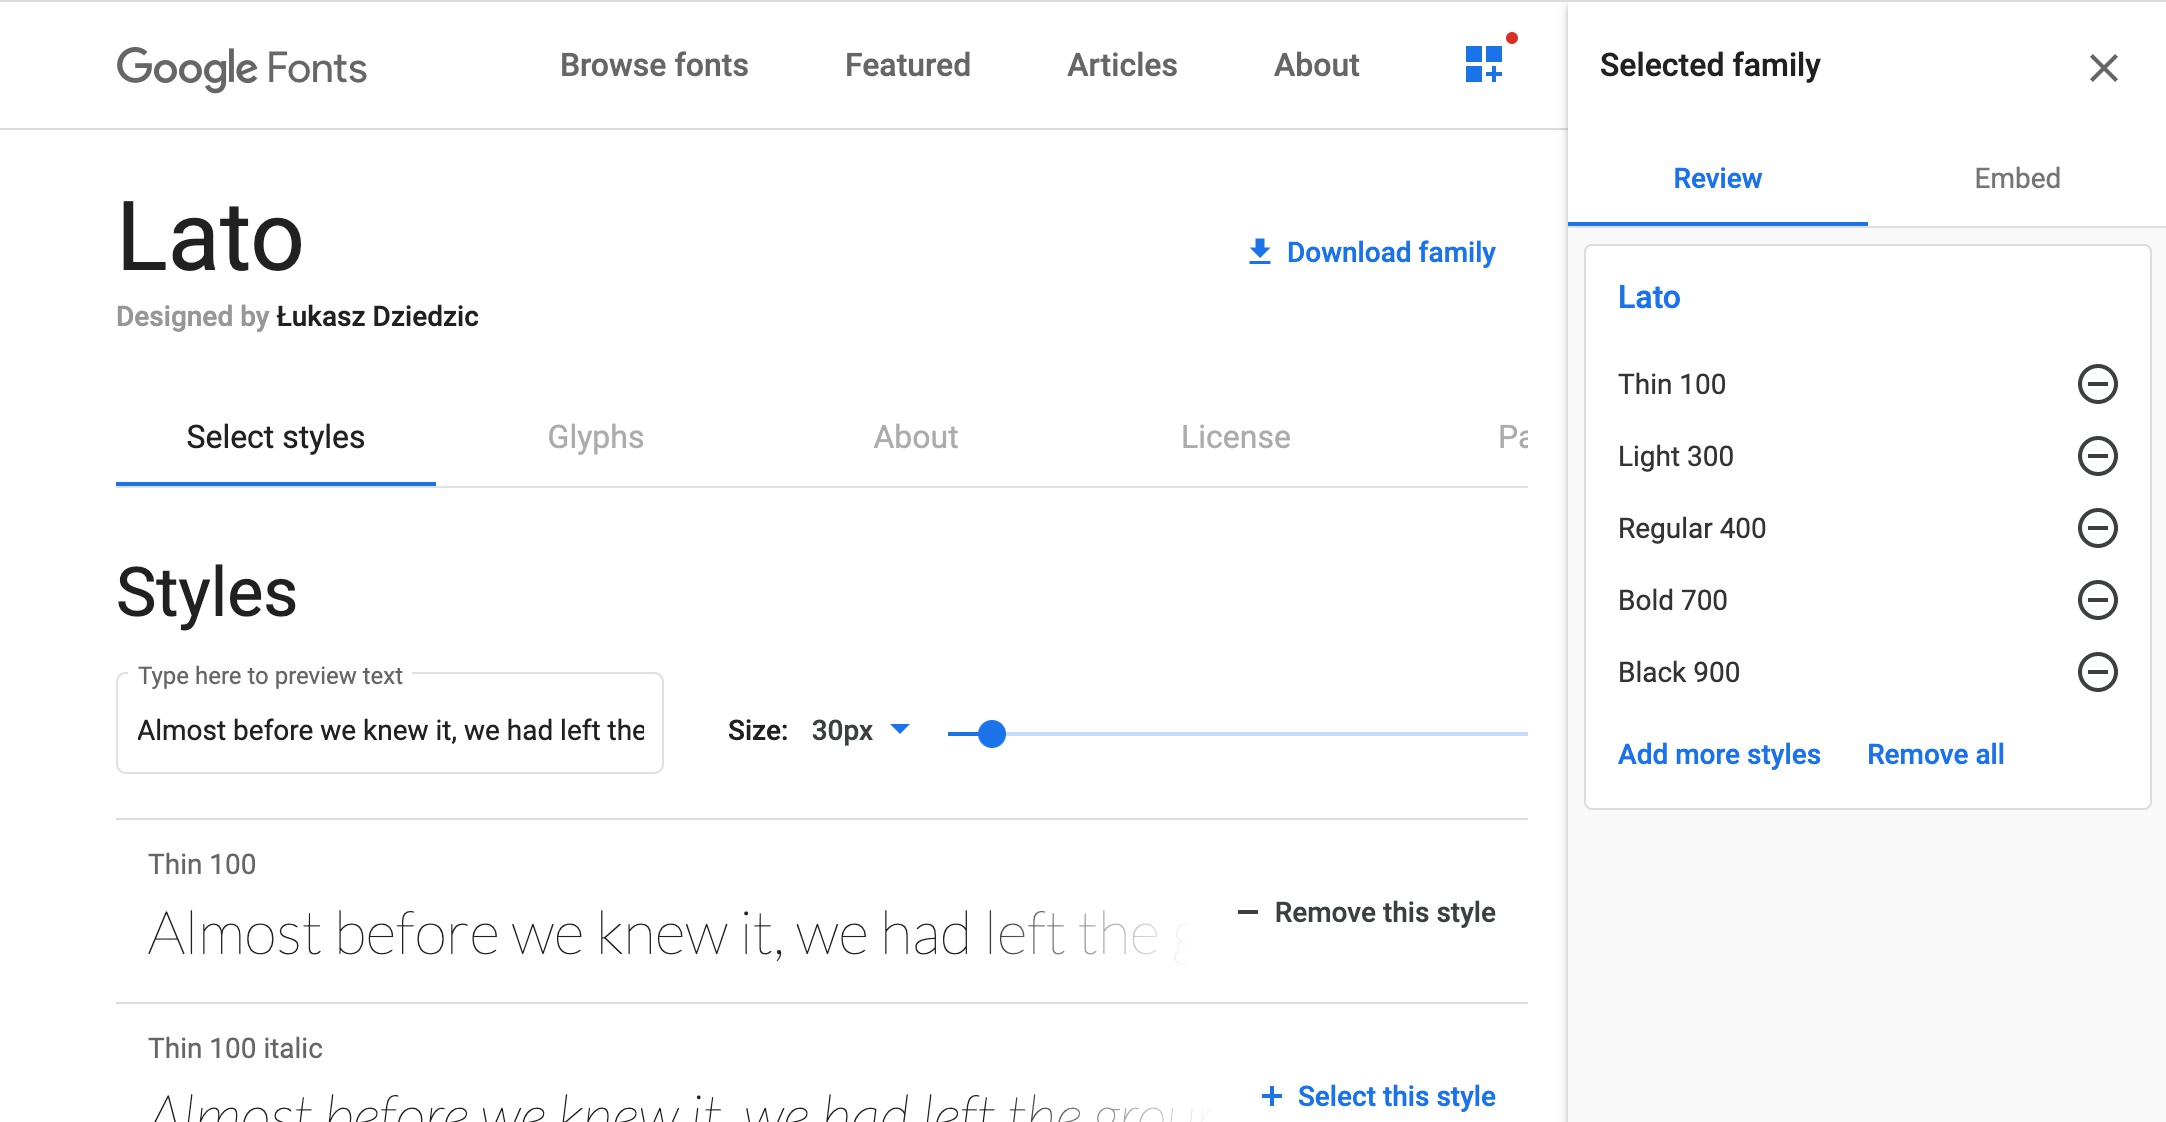
Go to Google Fonts, search for Lato and click on Select this style for all weights of regular styles. Open the selected families panel on the right side, to see what is selected.
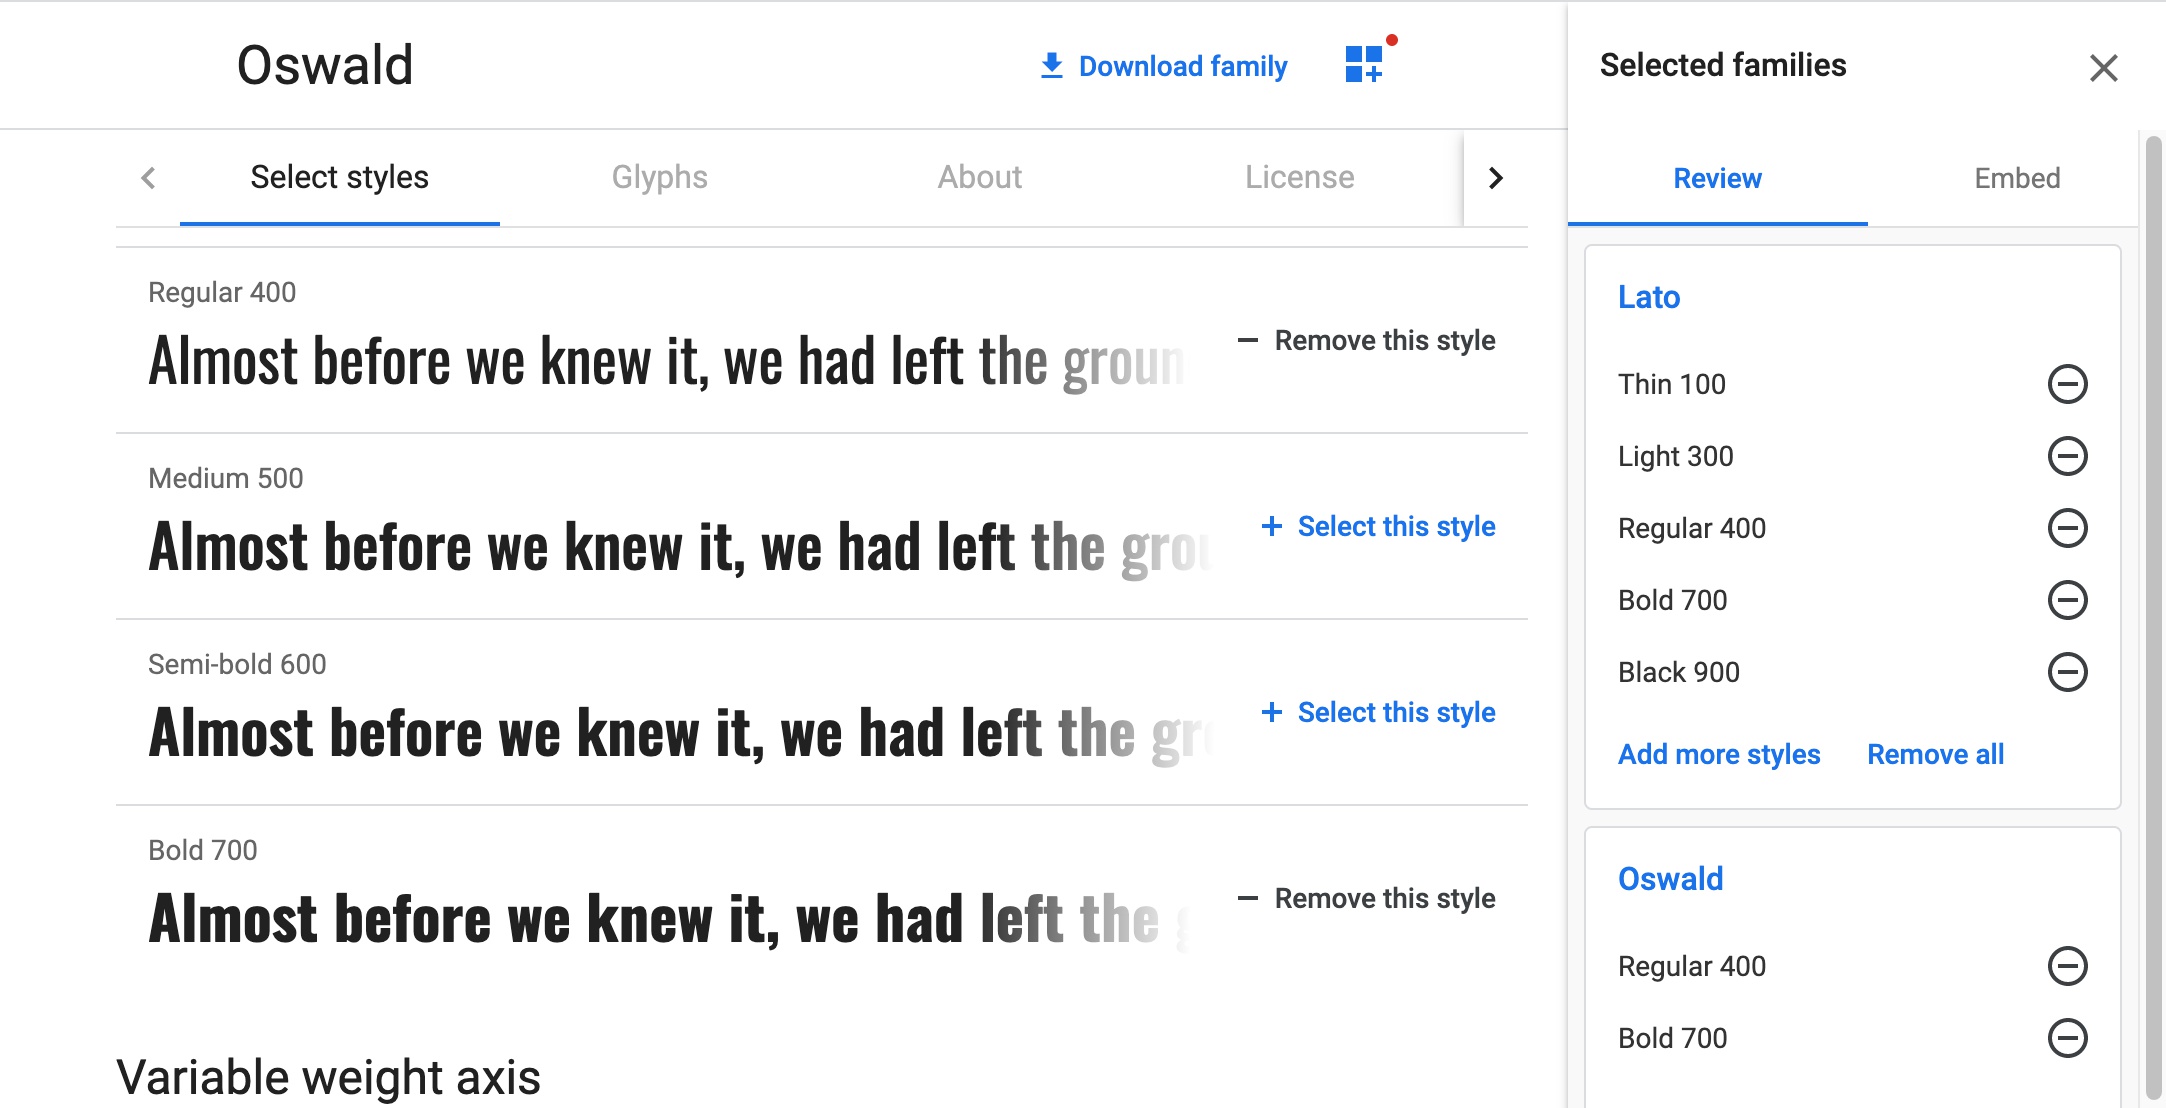
Now, let’s also find a nice font for our headings. Oswald is a good choice. Select desired styles, for example Regular and Bold.
In the right panel, go to Embed tab and select the @import option:
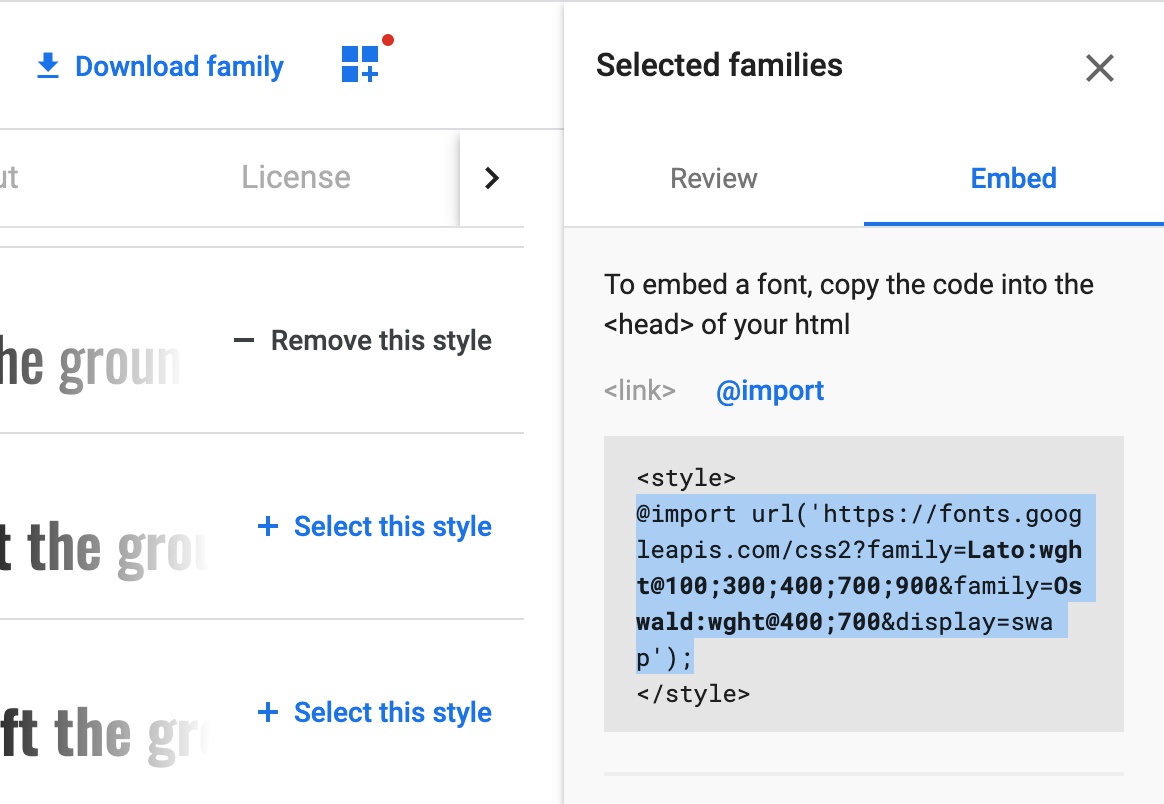
Copy the @import statement and paste it at the start of tailwind.source.css file:
@import url('https://fonts.googleapis.com/css2?family=Lato:wght@100;300;400;700;900&family=Oswald:wght@400;700&display=swap');

@tailwind base;
@tailwind components;
@tailwind utilities;
This is a good example of how we can extend the stylesheet by adding our custom CSS rules to the source stylesheet file. @import statements should be added at the start of the file and regular CSS rules at the end.
Now, add the new fonts to the theme in tailwind.config.js.
First, in theme.extend.fontFamily we will override the default setting for the sans font (used as default font on the page) and set it to Lato . We will also define a new font family value for headings and set it to Oswald (note that the value is an array with two items – the font family name and the fallback font):
extend: {
    fontFamily: {
        sans: ['Lato', 'sans-serif'],
        heading: ['Oswald', 'sans-serif'],
    },
    //the rest of the extend settings, don't copy this comment
    //...
Rebuild the stylesheet with:
npm run buildThe generated stylesheet is automatically reloaded in Pinegrow and we can notice that the displayed font changed.
In Pinegrow, go to Tools & Settings in the Properties panel and select Customize visual controls, to adjust visual controls to our new customizations.
At this point we also need a nicer HTML layout to test our new fonts. Replace the <body>...</body> section in index.html with the following HTML. Or, feel free to come up with you own layout:
<body class="ml-12 mt-16 p-8 shadow-2xl w-4/12">
    <h1 class="mb-2 text-5xl">Hello, there!</h1>
    <p>Welcome to our amazing test page where we showcase our fancy customized Tailwind CSS theme!</p>
</body>
Select the heading and open the Font family dropdown. There we can see the new heading value and use it for our headings:
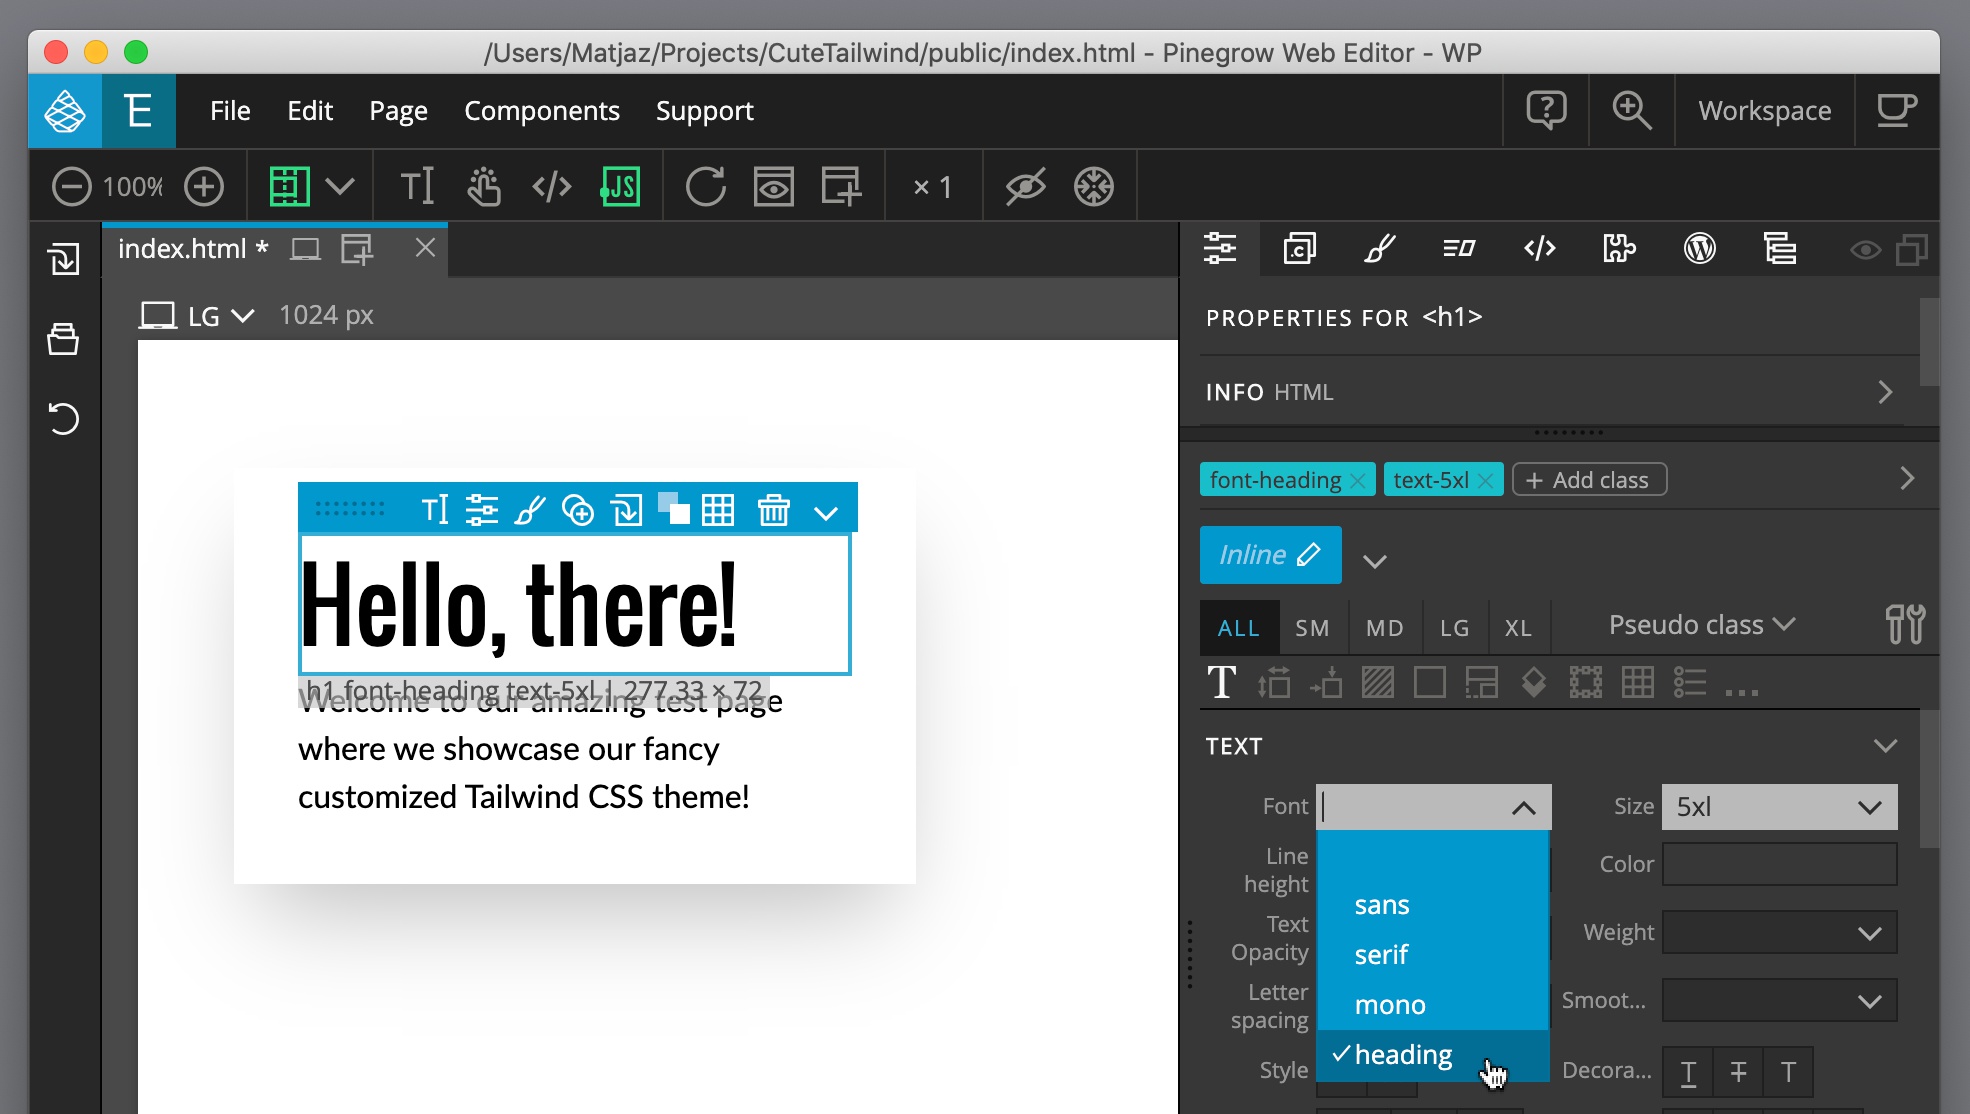
Customizing screen sizes
Default Tailwind theme comes with five screen sizes: all, sm, md, lg and xl.
We can customize this by:
- Changing their breakpoints
- Removing un-needed sizes
- Adding new sizes
It makes sense to remove un-needed sizes in order to significantly reduce the size of the generated CSS file.
Here, we will remove the md size and add an extra large size 2xl for screens 1440px and above by adding this code to tailwind.config.js, directly into the theme section:
theme: {
    screens: {
      sm: '640px',
      lg: '1024px',
      xl: '1280px',
      '2xl': '1440px', //2xl needs quotes because it starts with a number
    },
    extend: {
      //... the rest of our customizations are here
Note that we can’t remove values using the extend section. That means we have to define all screen sizes in the main theme section.
Re-build the stylesheet with npm run build and Customize visual controls in Pinegrow.
Once we do that we can see the new set of screen sizes in the Screen size selector. We also get new values in the page view size selector:
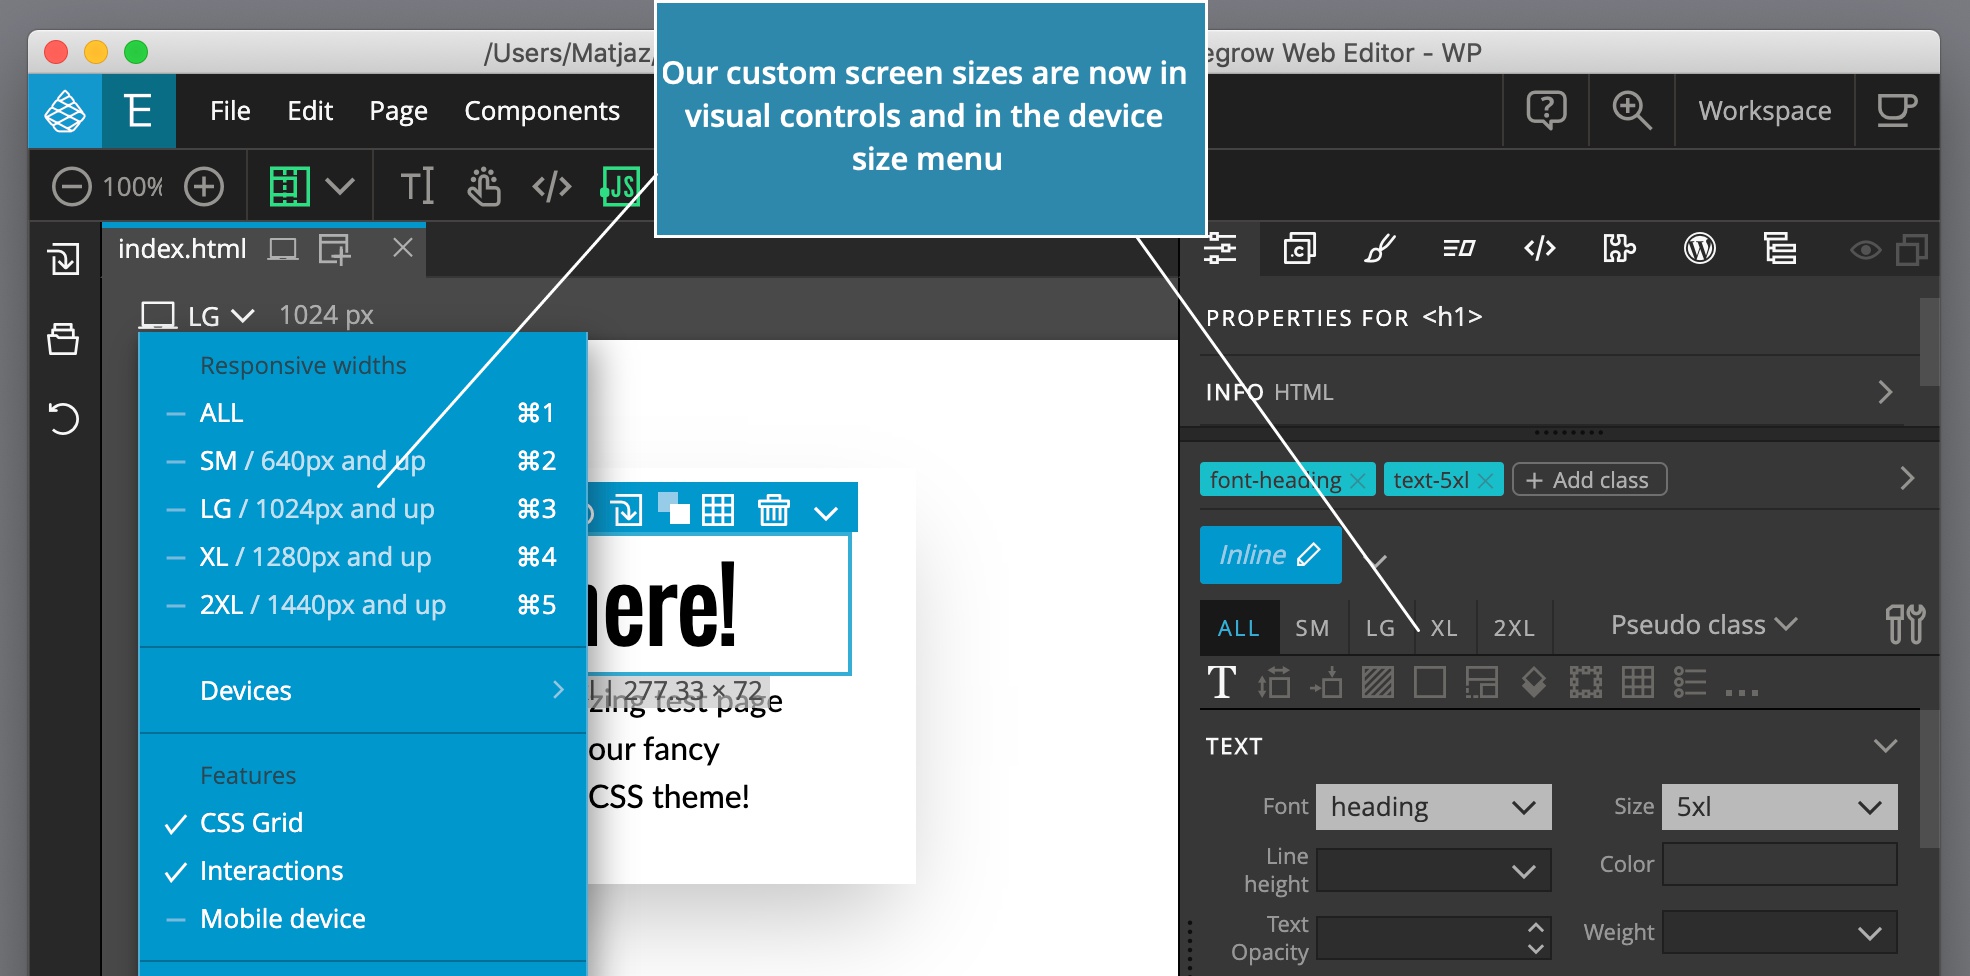
Note that if we had any classes from the removed md size on elements, we won’t be able to manipulate them through visual controls.
Such classes are not recognized as Tailwind classes anymore and we can add or remove them in the Class list.
Rainbow fun
Let’s do something fun and add a rainbow text shadow.
Add the following code to the theme.extend section to add a new shadow value:
boxShadow: {
    rainbow: '0 0 0 10px #ff0000,0 0 0 20px #ff7700,0 0 0 30px #FFDD00,0 0 0 40px #00FF00,0 0 0 50px #0000FF,0 0 0 60px #C77DF3,0 0 0 70px #8A2BE2',
},
Re-build the stylesheet and customize visual controls in Pinegrow.
And now we can add a cool rainbow effect to our heading:
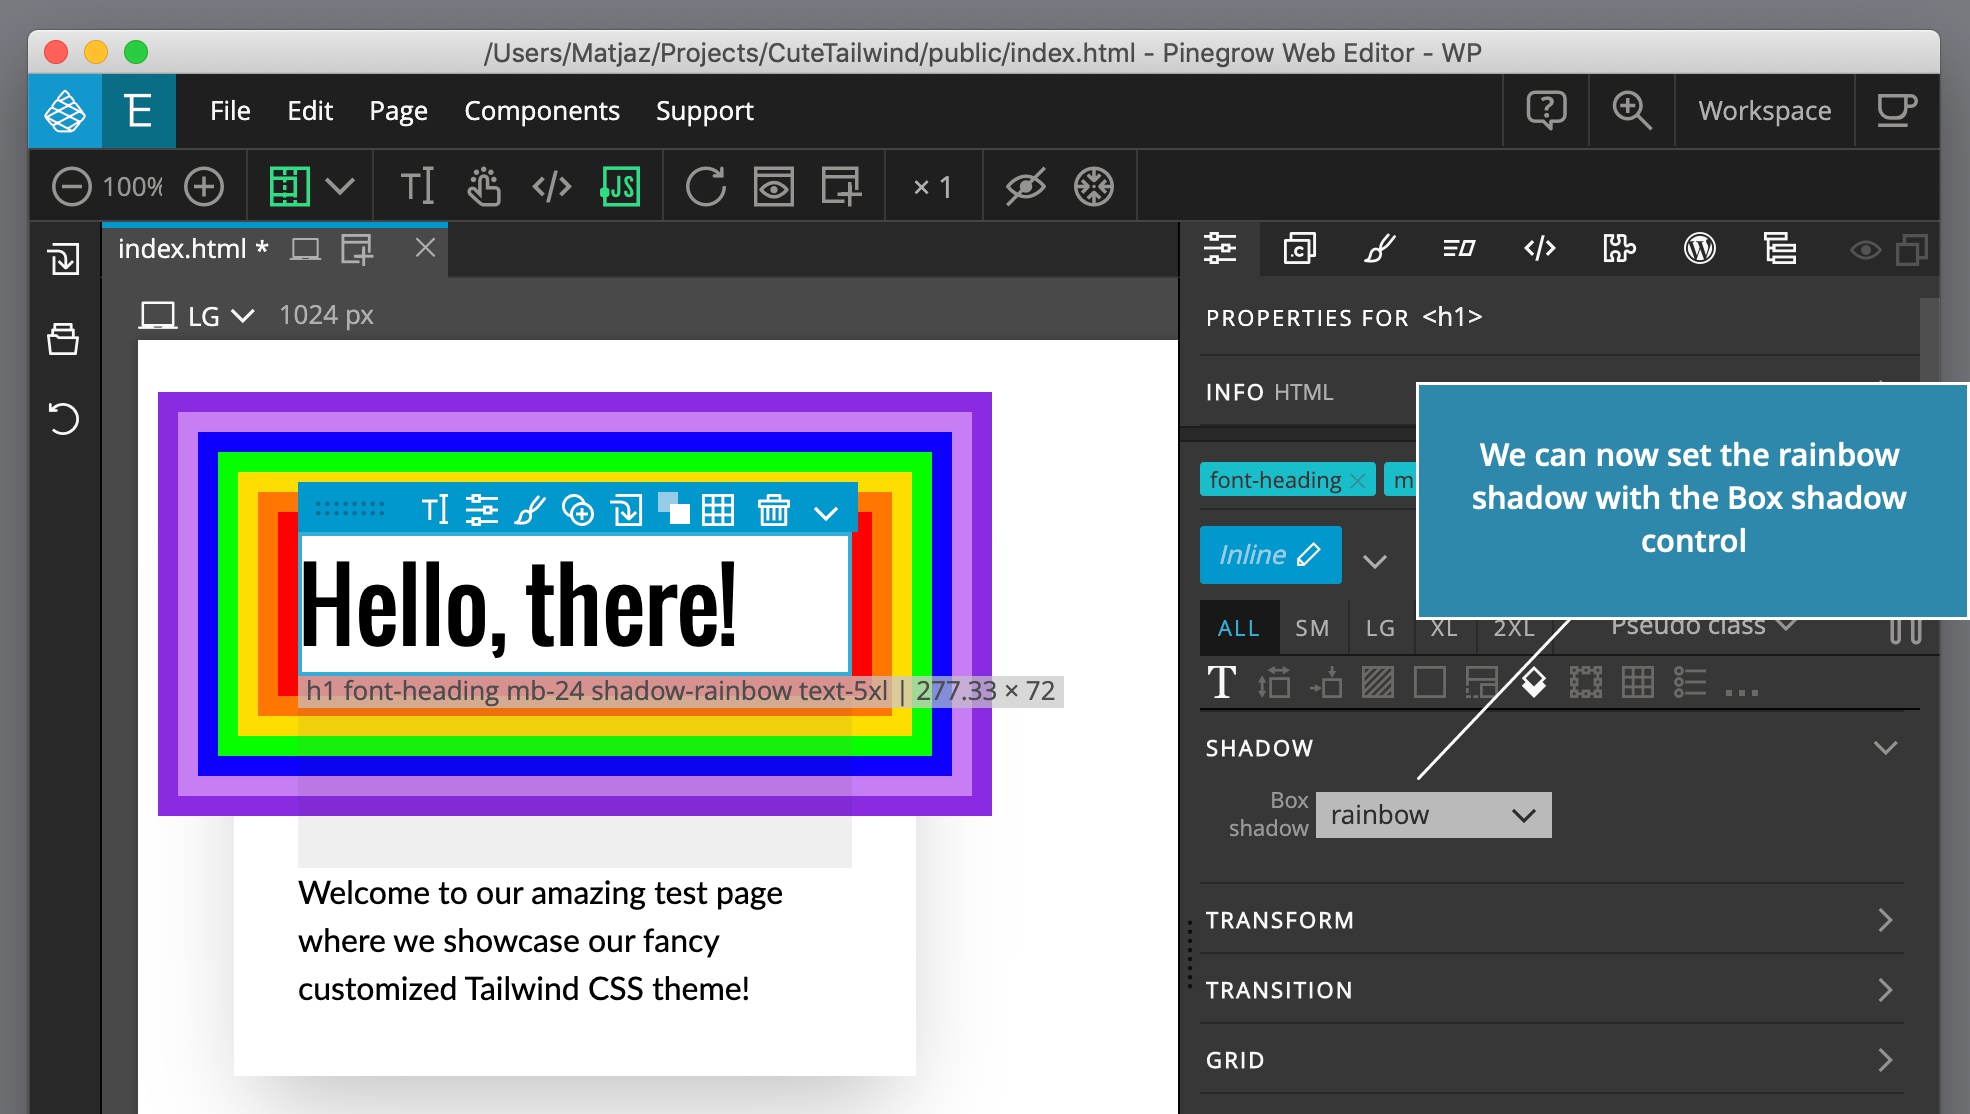
For reference, the whole tailwind.config.js file now looks like this:
module.exports = {
  purge: [],
  theme: {
    screens: {
      sm: '640px',
      lg: '1024px',
      xl: '1280px',
      '2xl': '1440px',
    },
    extend: {
      boxShadow: {
        rainbow: '0 0 0 10px #ff0000,0 0 0 20px #ff7700,0 0 0 30px #FFDD00,0 0 0 40px #00FF00,0 0 0 50px #0000FF,0 0 0 60px #C77DF3,0 0 0 70px #8A2BE2',
      },
      fontFamily: {
        sans: ['Lato', 'sans-serif'],
        heading: ['Oswald', 'sans-serif'],
      },
      colors: {
        blue: {
          '100': '#72c1df',
          '200': '#5bb7d9',
          '300': '#43add4',
          '400': '#2ca2ce',
          '500': '#1498c9',
          '600': '#1289b5',
          '700': '#107aa1',
          '800': '#0e6a8d',
          '900': '#0c5b79'
        },
        gold: {
          light: '#ddbf5f',
          base: '#d4af37',
          dark: '#aa8c2c'
        },
      },
    },
  },
  variants: {},
  plugins: [],
}
Download the project files
Just want to play around without writing all the code?
- Download the demo project and unzip it to your local computer.
- Open the Terminal or Command prompt and
cdinto that folder. - Run
npm install to installall the required Node packages. - Run
npm run buildto generate the CSS file.
You can use this project as a boilerplate for starting new Tailwind CSS projects.
Learn more
That’s all for this tutorial. A lot of further Tailwind CSS settings can be customized. Check out the official Tailwind CSS documentation to learn more about Tailwind customization.
Learn more about Tailwind Visual Editor here.
Keeping up with Tailwind CSS development
Tailwind CSS authors actively develop the framework and new releases come out almost weekly. That’s great, but it can leave us with the feeling that we always need to catch up to the latest version.
There is no need to feel the pressure to update to the latest version of any framework we are using.
If our project works fine and we don’t need the new features, there is no need to keep updating it to the latest framework versions.
Instead we can use the latest version of the framework on the next new project that comes along – if we want.
Updating Tailwind CSS to the latest version
That said, the process we created in this guide makes upgrading Tailwind CSS very easy. Just open the terminal and run:
npm updateThis will update all Node.js packages, including Tailwind CSS, to their latest versions that are still compatible with our project. After that, just rebuild the stylesheet with npm run build.
Next, we will cover any situations that arise from updating Tailwind CSS. We will keep this section up-to-date with Tailwind CSS development.
1.7.0
Release 1.7.0 added new gap utility classes gap-x-{n} and gap-y-{n}. The current gap classes col-gap-{n} and row-gap-{n} will be removed in Tailwind CSS 2.0.0.
The build process displays a warning about this:
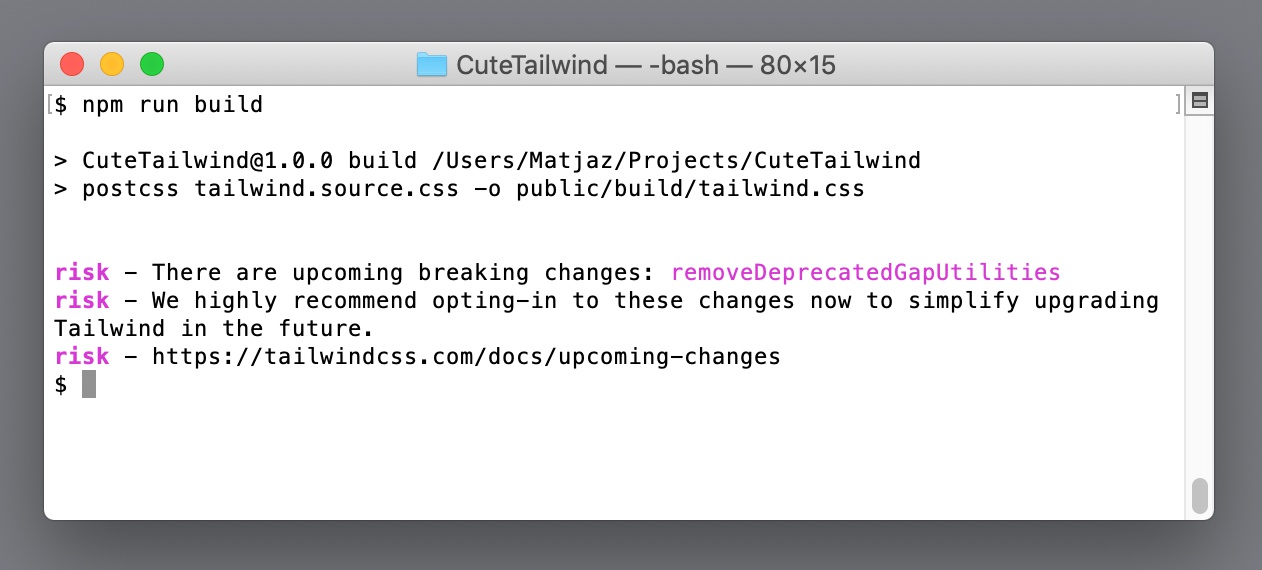
There is nothing we need to do at this time – the old classes are still here. In case we wish to start using the new gap classes now and don’t want to be reminded of the change again, we can add this code to tailwind.config.js:
module.exports = {
  future: {
    removeDeprecatedGapUtilities: true,
  },
  // ...
}
2.0.0
Pinegrow Web Editor 5.981 is required to use customized colors in the Tailwind Visual Editor.